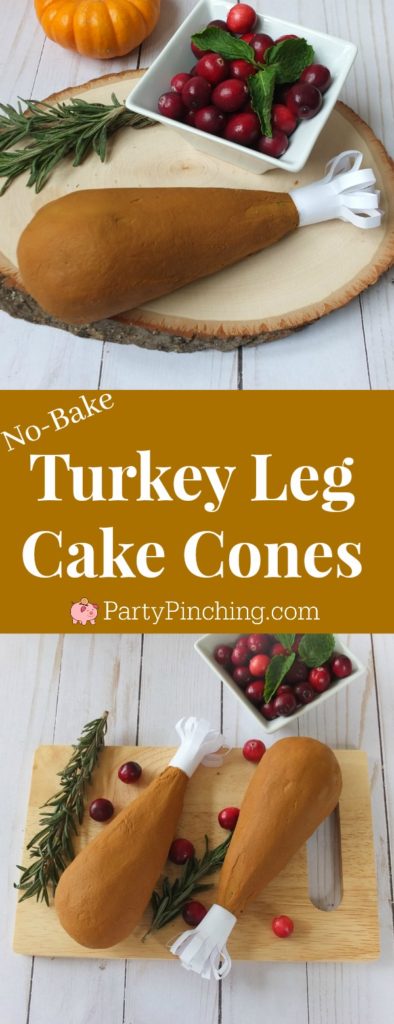
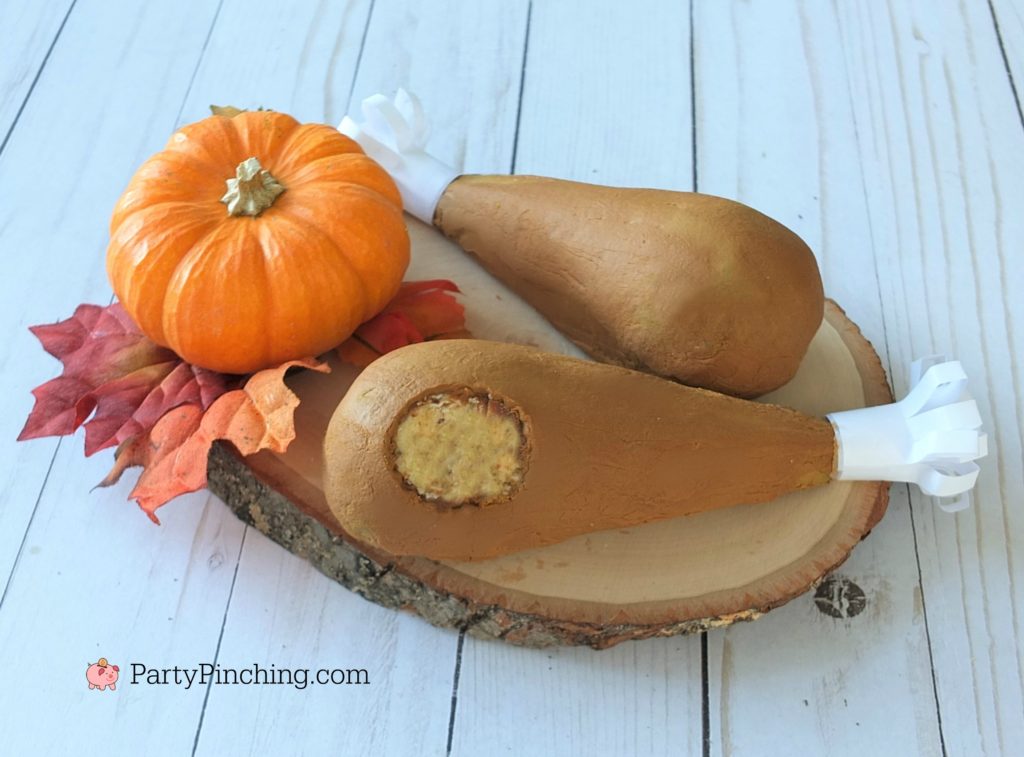
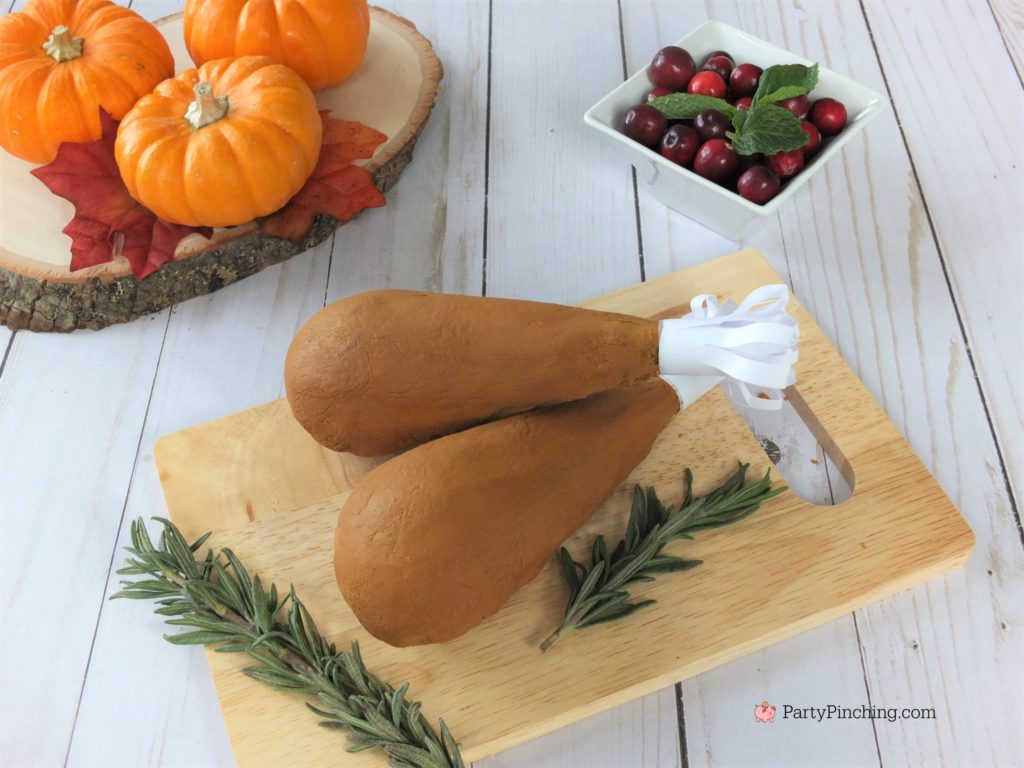
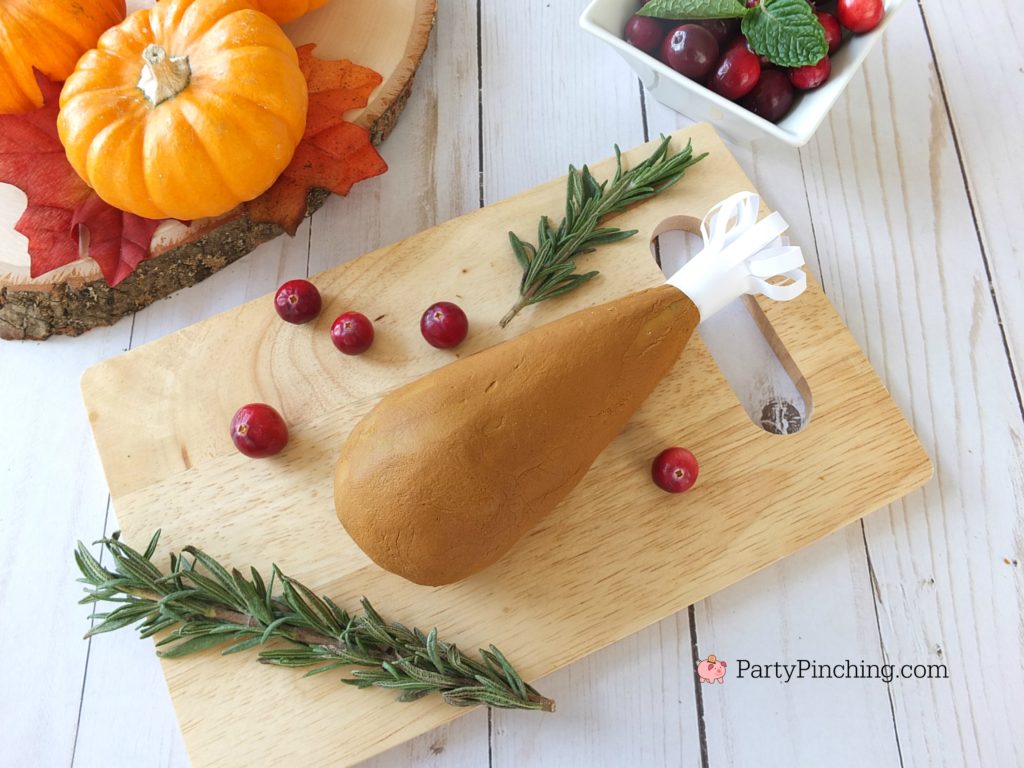
These Turkey Leg Cake Cones are so easy to make using ice cream sugar cones and Little Debbie snack cakes. Perfect for the kids’ Thanksgiving table, they are super simple no-bake treats that are fun to create. Kids will just love gobbling down this dessert! (Printable recipe below)
This post is sponsored with product and/or monetary compensation by Little Debbie. All opinions are my own. (This post may contain affiliate links).
Watch the step-by-step video below:
You will need:
- Box of Little Debbie Zebra Cakes (or Fancy Cakes)
- Ice Cream Sugar Cones
- Can white frosting (I used store bought but you can make a buttercream if you wish)
- Brown food color
- Yellow food color
- Smooth paper towels
- White printer paper
- Tape or Glue stick
Directions:
- Open one package of Little Debbie Zebra Cakes (2 cakes come in a pack)
- Using a fork, mash up the cakes in a small bowl.
- With your hands, shape the cake mixture into a round ball.
- Frost the opening of the ice cream cone with frosting.
- Place the cake ball on top of the frosted cone. Let set until firm.
- Mix 3 drops of yellow food coloring to every 1 drop of brown food coloring until you get a caramel brown color.
- Frost the entire cake cone with the caramel color frosting. Place on parchment paper to dry (about an hour).
- When the frosting is dry, but still soft, gently rub a paper towel on the frosting to smooth. (I use smooth Viva towels without a pattern – don’t smooth it too much, you’ll want that turkey leg texture).
- Cut the white printer paper 4″ x 3″ .
- Fold the paper in half vertically.
- Make 1/4″ cuts on the fold to about 2/3 of the way down, (see video for step by step directions)
- Tape the ends of the paper together.
- Fluff the paper crown to make the frills.
- Place the paper frill on the end of the cone.
Aren’t these adorable? They are SO EASY to make – no baking a cake and adding frosting like a cake pop. (Click here to see my no-bake cake pop tutorial) Little Debbie Zebra Cakes have everything you need! You can also use Little Debbie Fancy Cakes too!
- Box of Little Debbie Zebra Cakes (or Fancy Cakes)
- Ice Cream Sugar Cones
- Can white frosting (I used store bought but you can make a buttercream if you wish)
- Brown food color
- Yellow food color
- Smooth paper towels
- White printer paper
- Tape or Glue stick
- Open one package of Little Debbie Zebra Cakes (2 cakes come in a pack)
- Using a fork, mash up the cakes in a small bowl.
- With your hands, shape the cake mixture into a round ball.
- Frost the opening of the ice cream cone with frosting.
- Place the cake ball on top of the frosted cone. Let set until firm.
- Mix 3 drops of yellow food coloring to every 1 drop of brown food coloring until you get a caramel brown color.
- Frost the entire cake cone with the caramel color frosting. Place on parchment paper to dry (about an hour).
- When the frosting is dry, but still soft, gently rub a paper towel on the frosting to smooth. (I use smooth Viva towels without a pattern - don't smooth it too much, you'll want that turkey leg texture).
- Cut the white printer paper 4" x 3" .
- Fold the paper in half vertically.
- Make ¼" cuts on the fold to about ⅔ of the way down, (see video for step by step directions)
- Tape the ends of the paper together.
- Fluff the paper crown to make the frills.
- Place the paper frill on the end of the cone.
For more Thanksgiving ideas, click here:
