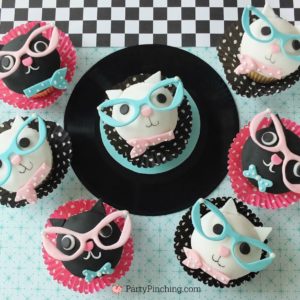
These Cool Cat Cupcakes were so fun to make! Hands down the cutest cupcakes I’ve made to date. Purrrrrfect for a Retro Birthday Party, Fifties Sock Hop Soda Fountain Bash or for the crazy cat lady in your life! (Printable recipe below)
This post may contain affiliate links
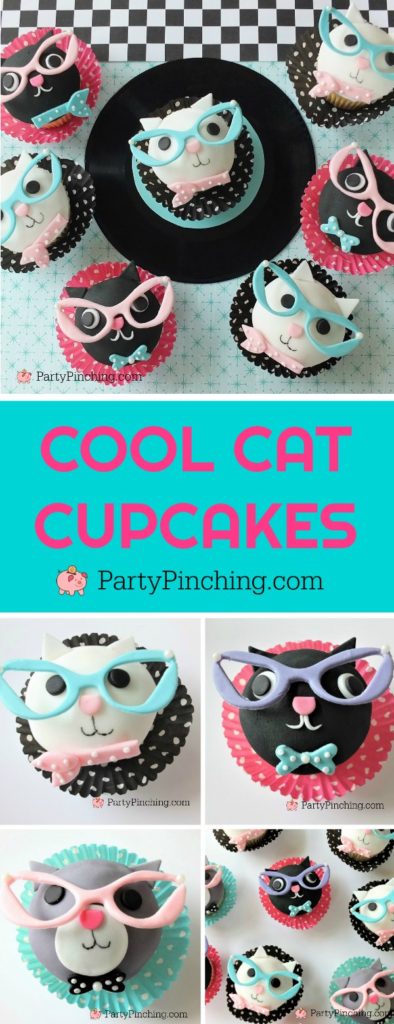
This was my first time using fondant to cover my cupcakes. I always loved the look, but was afraid to try it because I didn’t think I could make it look so smooth. BUT IT WAS SO EASY! I used fondant and they turned out so cute. AND I did it my FIRST TRY!
WATCH MY STEP-BY-STEP VIDEO HERE:
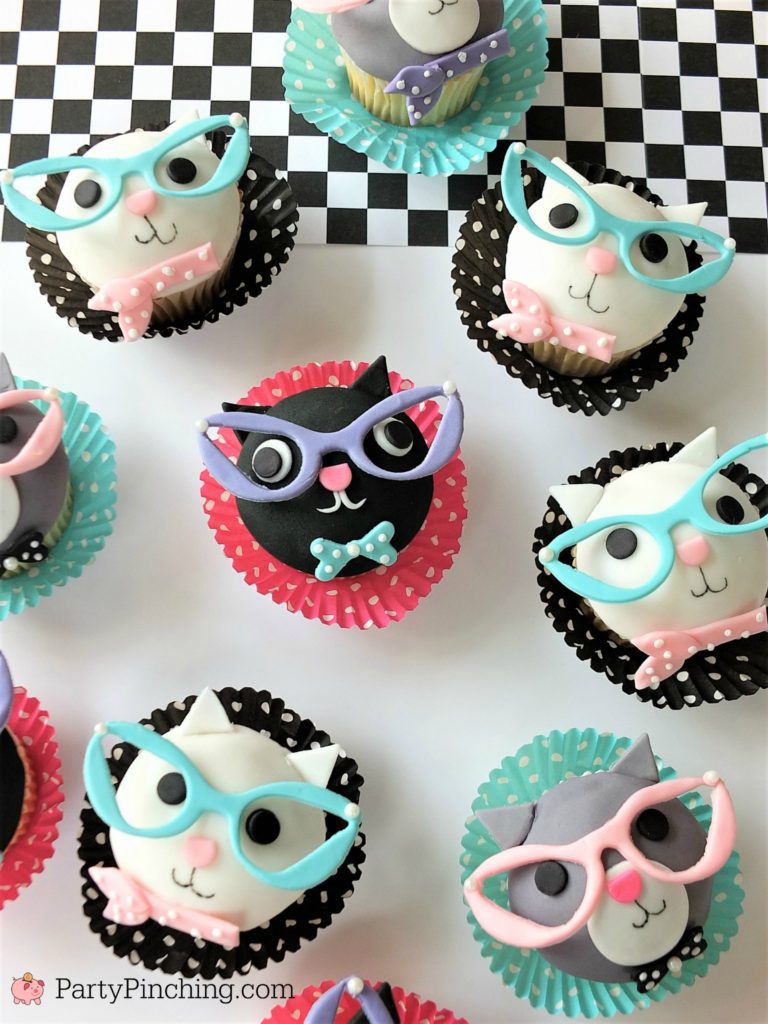
You can mix and match any colors for the cats’ accesories – so fun to dress them up in cool colors! Try using some edible pearl dust on the glasses for some extra sparkle!
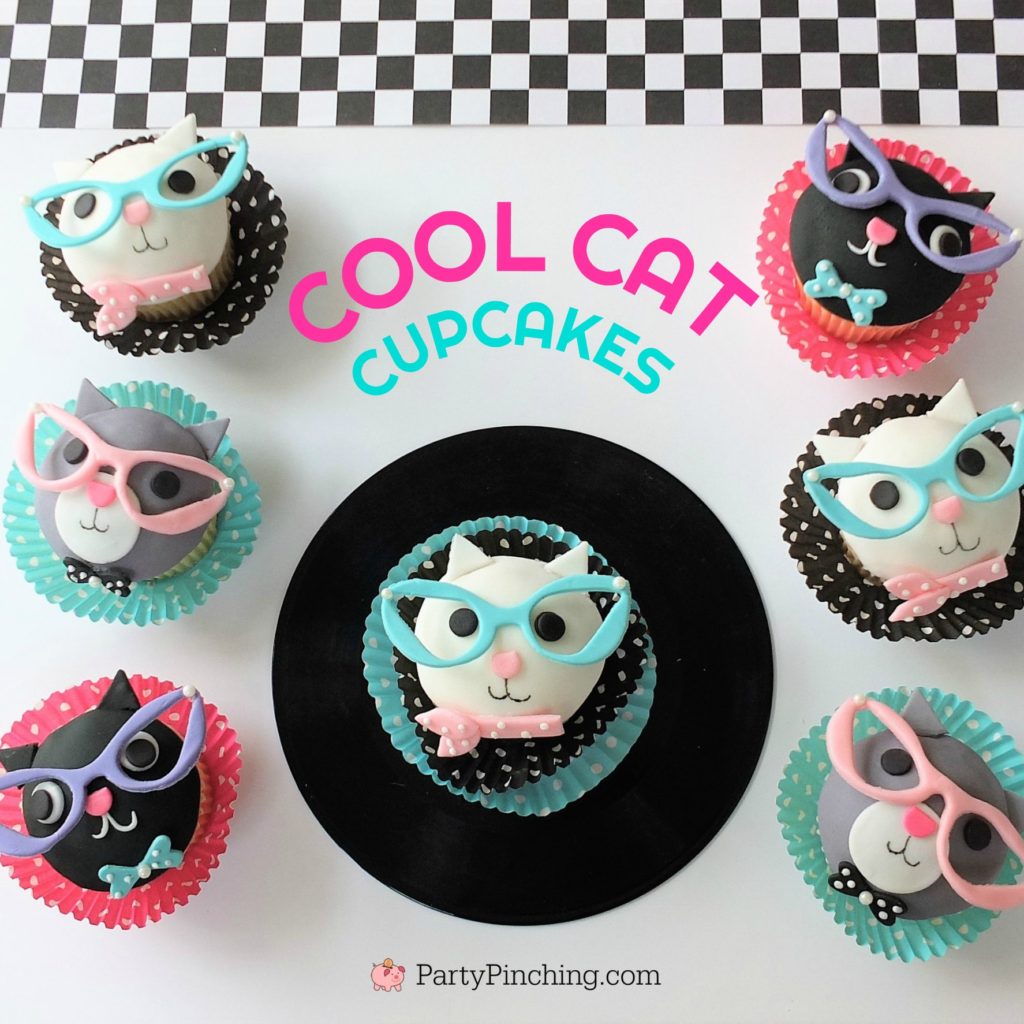
So here’s what you need to make these hip cats Daddy-0:
- 12 cupcakes
- White Frosting
- Wilton® Decorator Preferred Fondant – white
- Wilton® Decorator Preferred Fondant – pink
- Wilton® Decorator Preferred Fondant – black
- Wilton® Fondant Roller (9 inch)
- Wilton® Color Right food coloring
- Wilton® Classic Shapes Mini Cut-Outs Set
- Wilton® Round Fondant Double Cut-Out set
- Wilton® White Sugar Pearls Sprinkles
- Wilton® Polka Dot Baking Cups
- Wilton® #1 Piping Tip
- Wilton® Disposable Piping Bags
- Wilton® Fine Tip Black Food Writer
- Wilton® Decorating Brush
- 3.5″ Cat Eye Glasses Fondant Cutter
- 1/2″ Small Petal Cutter for the inside of the eye glasses
- Mini Leaf Cutter
- Place a small amount of frosting on top of the cupcake so you have a nice dome shape. Keep most of the frosting on top and frost a tiny amount on the side. Too much and it will ooze out when you put the fondant on.
- Roll out the white fondant on parcment paper and cut out a round shape using the largest round fondant cutter (2 13/16 size).
- Place the fondant circle on top of the frosted cupcake. Carefully smooth the fondant down the sides of the cupcake until the fondant reaches the edge of the cupcake wrapper.
- Wipe off any excess frosting if some oozes out.
- Use the palm of your hand to gently smooth out the top of the cupcake.
- Roll out the black fondant. Using the round mini cut-out set tool, cut and punch out the black eyes.
- Roll out the pink fondant. Using the round mini cut-out set tool, cut and punch out the pink nose.
- Using the food safe brush dipped in a small amount of water, attach the eyes and nose to the top of the cupcake.
- Using the white fondant and the color right food coloring system, kneed in blue and yellow food coloring into the white fondant with your hands to make teal fondant. (16 blue drops and 4 yellow drops) CLICK HERE to refer to the color chart. ** YOU MAY WANT TO USE GLOVES FOR THIS STEP
- Roll out the teal fondant on parchment paper (if sticky sprinkle a little corn starch on it). Cut out the eye glass shape using the eye glass cutter.
- Next using the tear drop cutter, cut the inside of the eyeglasses.
- Attach a pearl sprinkle to the corners of the eye glasses with a small amount of frosting.
- Let these glasses dry for AT LEAST 24 HOURS. If you don’t they will bend and break when you put them on the cupcake. This may or may not have happened to me.
- Roll out white fondant on parchment paper and cut out small triangles for ears. Attach to cupcake with frosting.
- Wait a few hours to draw on the mouth with the black food writer so the fondant is a little easier to write on.
- Knead together a little pink and white fondant to make a light pink.
- Roll out the light pink fondant on parchment paper. Cut a small long rectangle for the scarf.
- Using the mini leaf cutter, cut out 2 small ovals for the scarf tie.
- Attach the ties to the rectangle with frosting or a little water.
- Pipe on white frosting dots using #1 tip.
- Using frosting, attach scarf to bottom of cupcake.
- Attach eye glasses to cupcake with frosting right before serving.
** Tips – for the black cat, use black fondant. You can try making your own, but it won’t come out as silky smooth as the pre-made black fondant.
Mix black and white fondant for gray cat.
Have fun creating your own color combos!
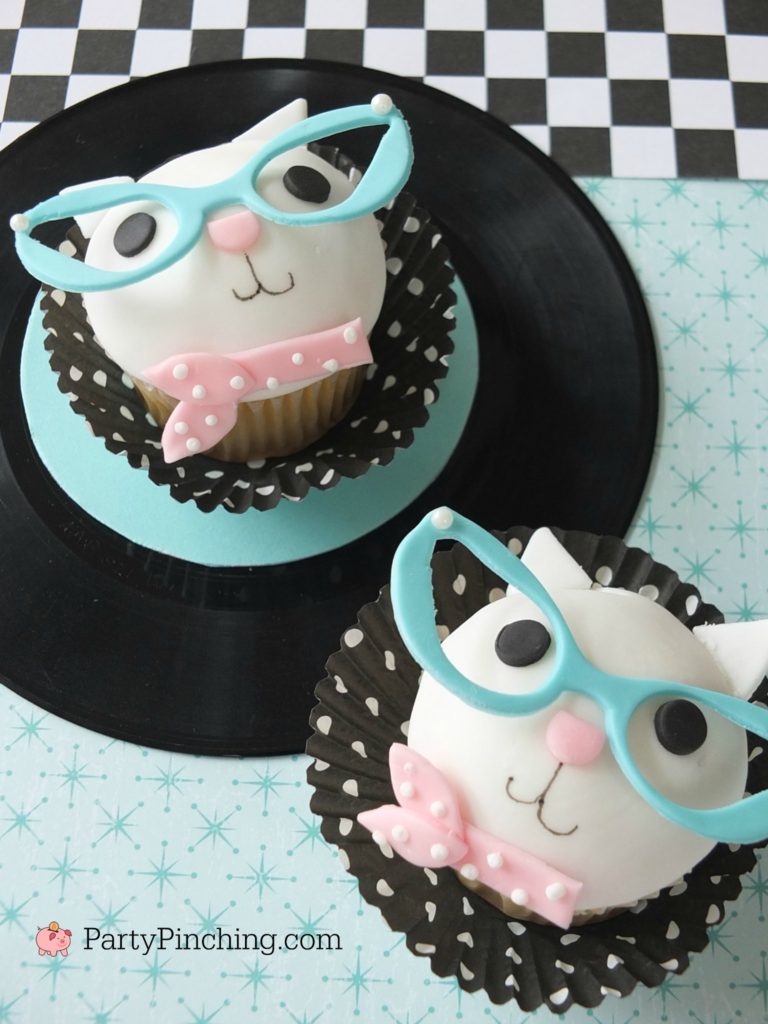
These hip cats couldn’t be cooler – or cuter!!
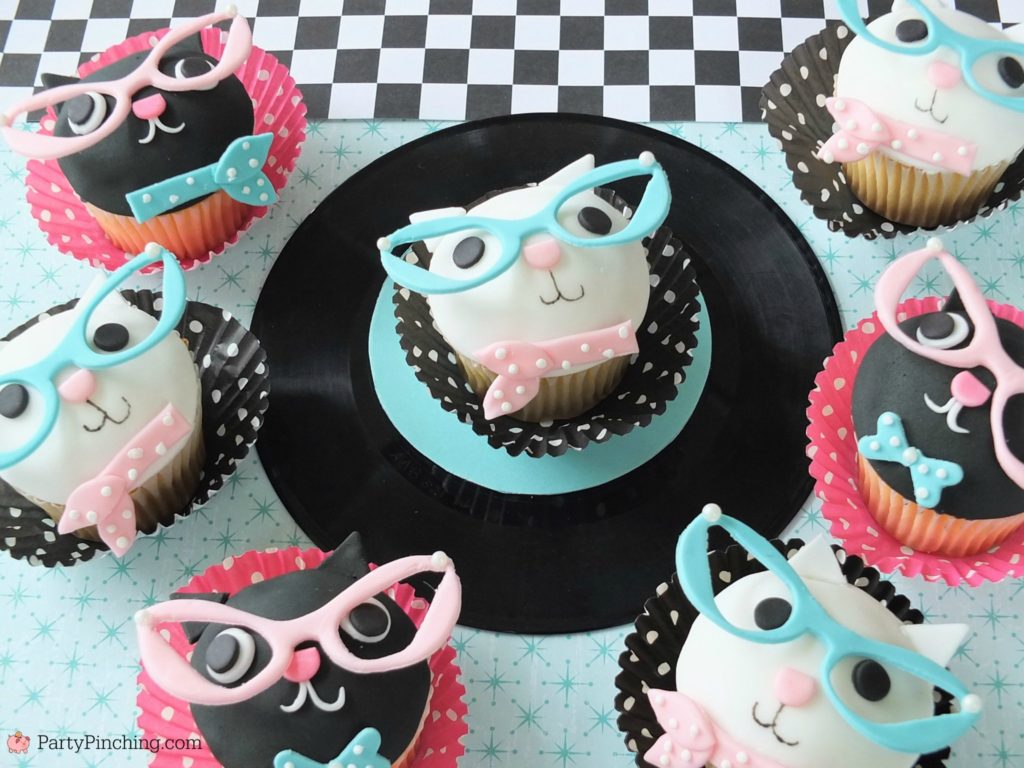
- 12 cupcakes
- White Frosting
- Wilton® Decorator Preferred Fondant - white
- Wilton® Decorator Preferred Fondant - pink
- Wilton® Decorator Preferred Fondant - black
- Wilton® Fondant Roller (9 inch)
- Wilton® Color Right food coloring
- Wilton® Classic Shapes Mini Cut-Outs Set
- Wilton® Round Fondant Double Cut-Out set
- Wilton® White Sugar Pearls Sprinkles
- Wilton® Polka Dot Baking Cups
- Wilton® #1 Piping Tip
- Wilton® Disposable Piping Bags
- Wilton® Fine Tip Black Food Writer
- Wilton® Decorating Brush
- Cat Eye Glasses Fondant Cutter
- Small Petal Cutter for the inside of the eye glasses
- Mini Leaf Cutter
- Place a small amount of frosting on top of the cupcake so you have a nice dome shape. Keep most of the frosting on top and frost a tiny amount on the side. Too much and it will ooze out when you put the fondant on.
- Roll out the white fondant on parcment paper and cut out a round shape using the largest round fondant cutter (2 13/16 size).
- Place the fondant circle on top of the frosted cupcake. Carefully smooth the fondant down the sides of the cupcake until the fondant reaches the edge of the cupcake wrapper.
- Wipe off any excess frosting if some oozes out.
- Use the palm of your hand to gently smooth out the top of the cupcake.
- Roll out the black fondant. Using the round mini cut-out set tool, cut and punch out the black eyes.
- Roll out the pink fondant. Using the round mini cut-out set tool, cut and punch out the pink nose.
- Using the food safe brush dipped in a small amount of water, attach the eyes and nose to the top of the cupcake.
- Using the white fondant and the color right food coloring system, kneed in blue and yellow food coloring into the white fondant with your hands to make teal fondant. (16 blue drops and 4 yellow drops) CLICK HERE to refer to the color chart. ** YOU MAY WANT TO USE GLOVES FOR THIS STEP
- Roll out the teal fondant on parchment paper (if sticky sprinkle a little corn starch on it). Cut out the eye glass shape using the eye glass cutter.
- Next using the tear drop cutter, cut the inside of the eyeglasses.
- Attach a pearl sprinkle to the corners of the eye glasses with a small amount of frosting.
- Let these glasses dry for AT LEAST 24 HOURS. If you don't they will bend and break when you put them on the cupcake. This may or may not have happened to me.
- Roll out white fondant on parchment paper and cut out small triangles for ears. Attach to cupcake with frosting.
- Wait a few hours to draw on the mouth with the black food writer so the fondant is a little easier to write on.
- Knead together a little pink and white fondant to make a light pink.
- Roll out the light pink fondant on parchment paper. Cut a small long rectangle for the scarf.
- Using the mini leaf cutter, cut out 2 small ovals for the scarf tie.
- Attach the ties to the rectangle with frosting or a little water.
- Pipe on white frosting dots using #1 tip.
- Using frosting, attach scarf to bottom of cupcake.
- Attach eye glasses to cupcake with frosting right before serving.
- ** Tips - for the black cat, use Wilton's Black Decorator Preferred Fondant. You can try making your own, but it won't come out as silky smooth as the pre-made black fondant. Tint white frosting black for step one.
- Mix black and white fondant for gray cat.
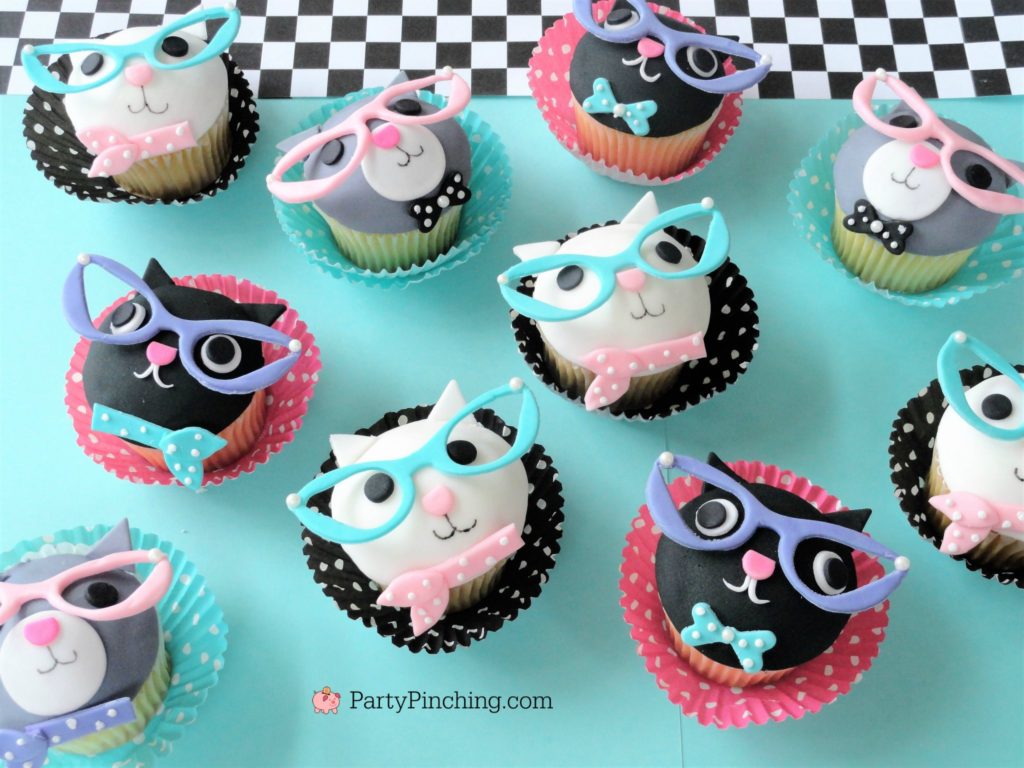
I had so much fun making these cute COOL CAT CUPCAKES!
