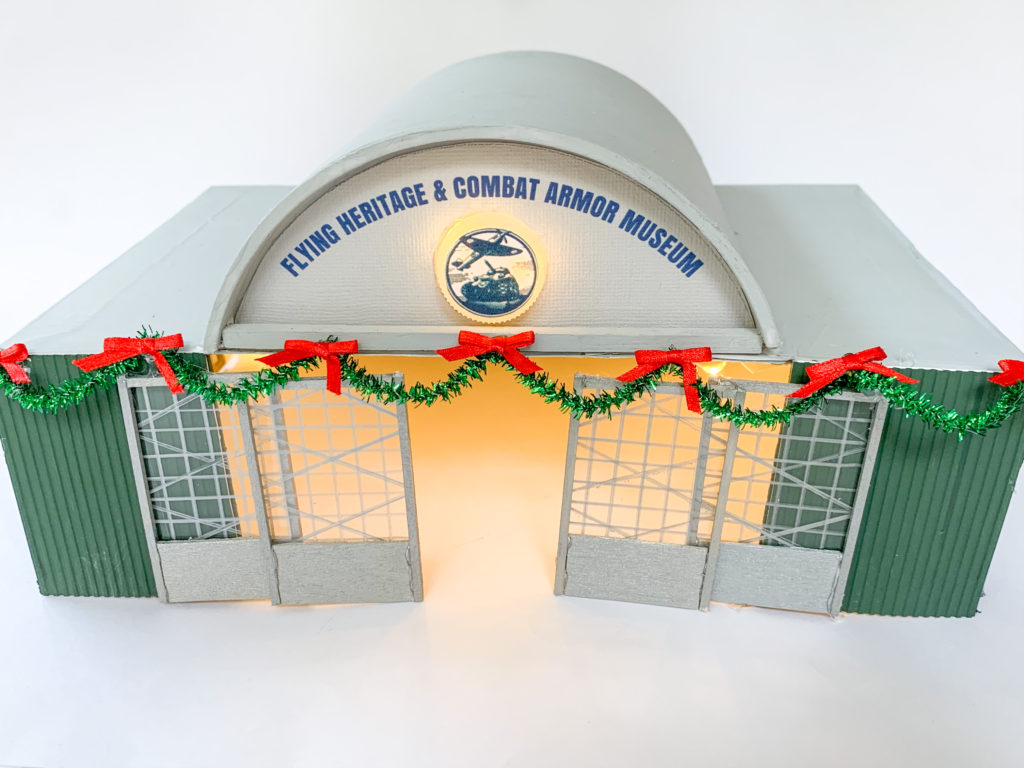
My DIY Airplane Hangar Model was inspired by the Flying Heritage and Combat Armor Museum. At Christmastime I love to transform my home into a Winter Wonderland. I have a fairly large collection of Christmas houses and with my love for all things Snoopy, I combine the two.
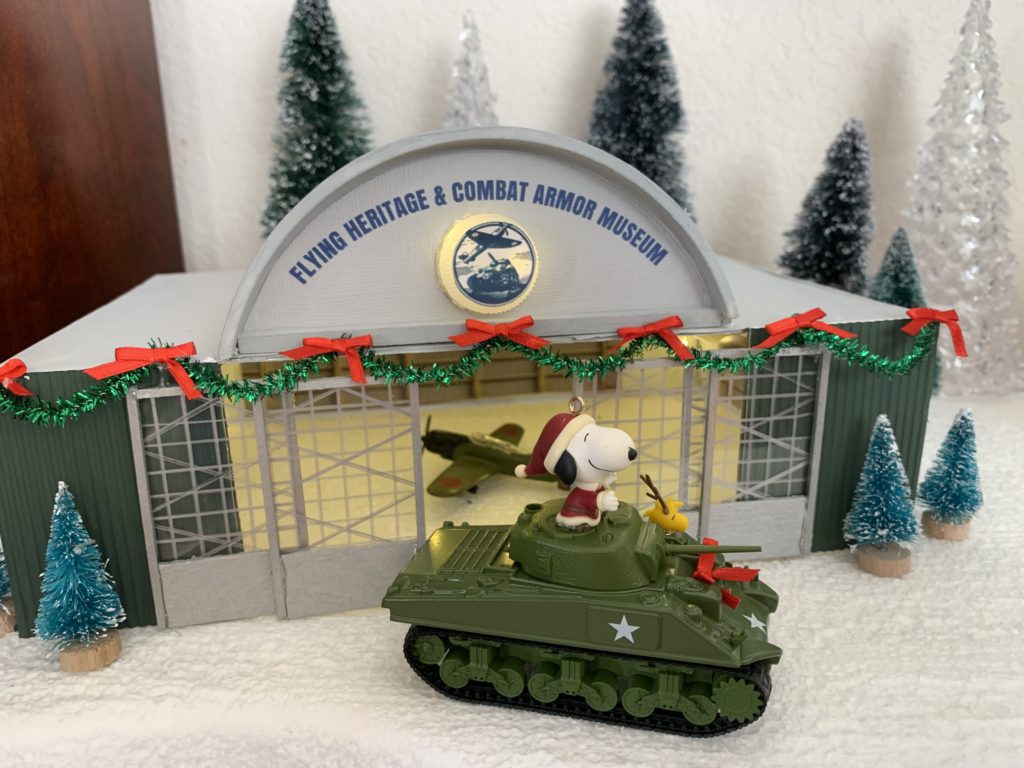
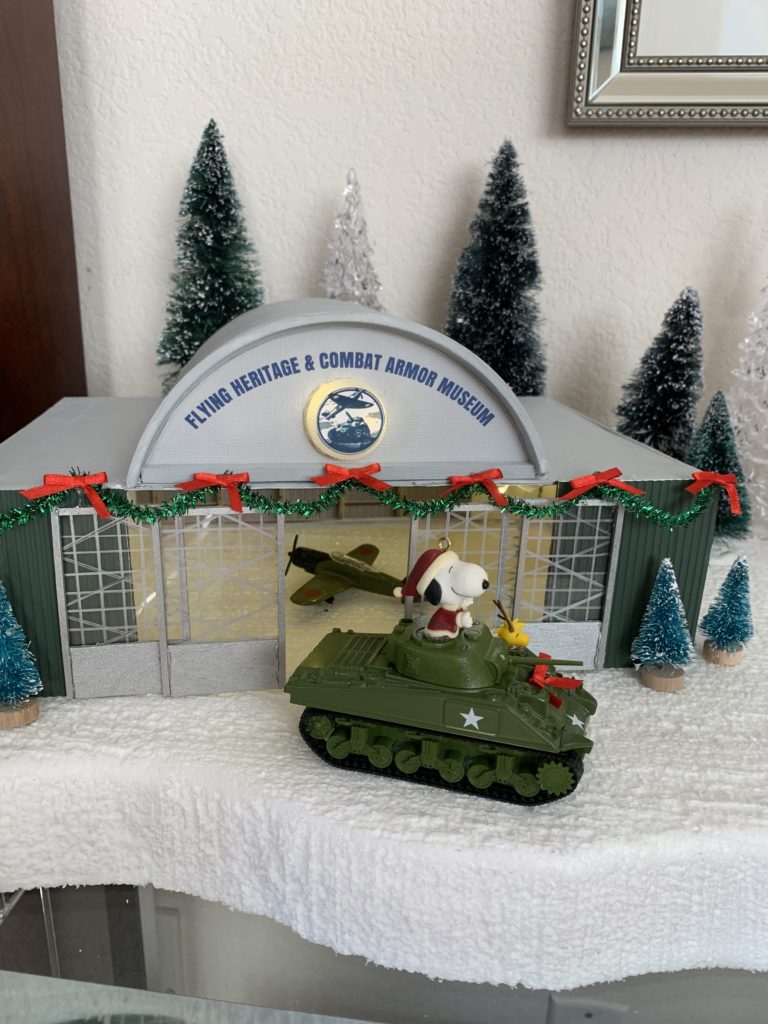
I searched everywhere for a airplane hanger to include in my Christmas village, but couldn’t find one! So, I decided to try to make one of my all-time, hands-down favorite museum – The Flying Heritage and Combat Armor Museum, located in Everett, Washington.
What makes this Museum so special besides the amazing exhibits and vehicles, is that this is not a static museum. Their motto is “Ready to Fly, Ready to Roll” and do they ever! Their events like Skyfair and Tankfest are nothing short of AMAZING!
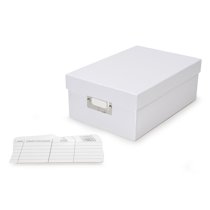
I tried to use things I had on hand, so I started out with this white photo box
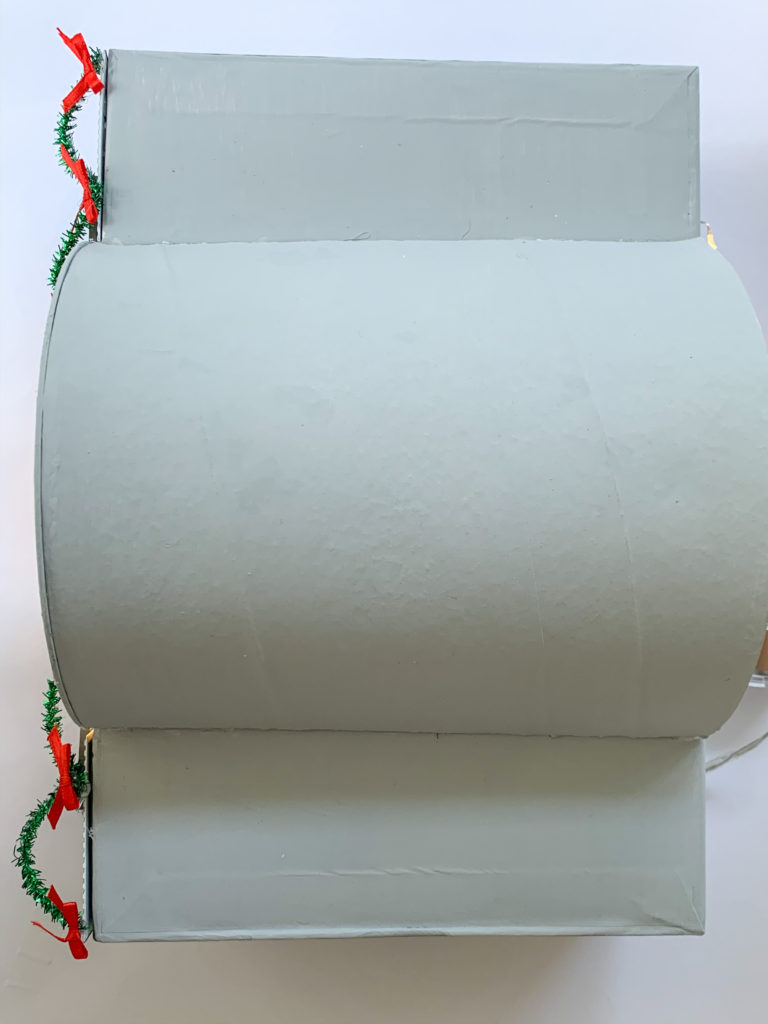
I cut a 6″ opening out of the middle of the long side of the box for the door opening and turned it upside down.
Next I found this extra wide mailing tube at Michael’s craft store and cut it in half vertically. I also cut the lid in half.

Then I attached the tube half and lid to the photo box with a hot glue gun and painted everything a light gray (this took about 3 coats of acrylic paint)
I bought a corrugated piece of polystyrene at a local hobby shop and painted it a dark green with acrylic paint.

Next I cut out the plastic to fit on either side of the door opening.
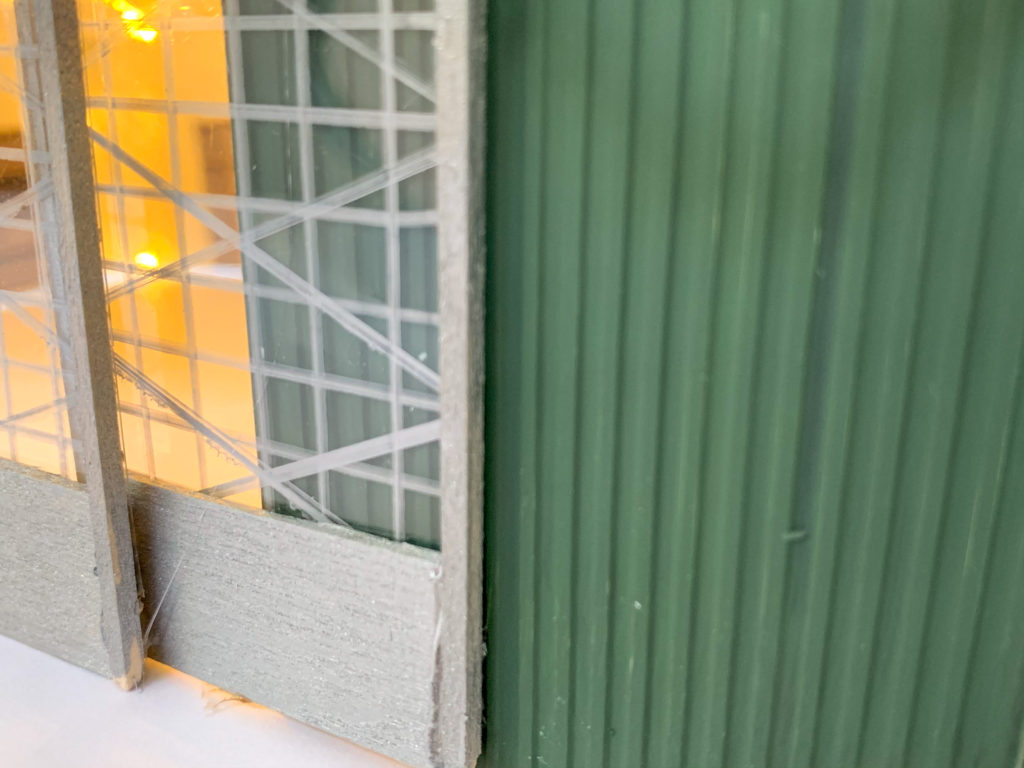
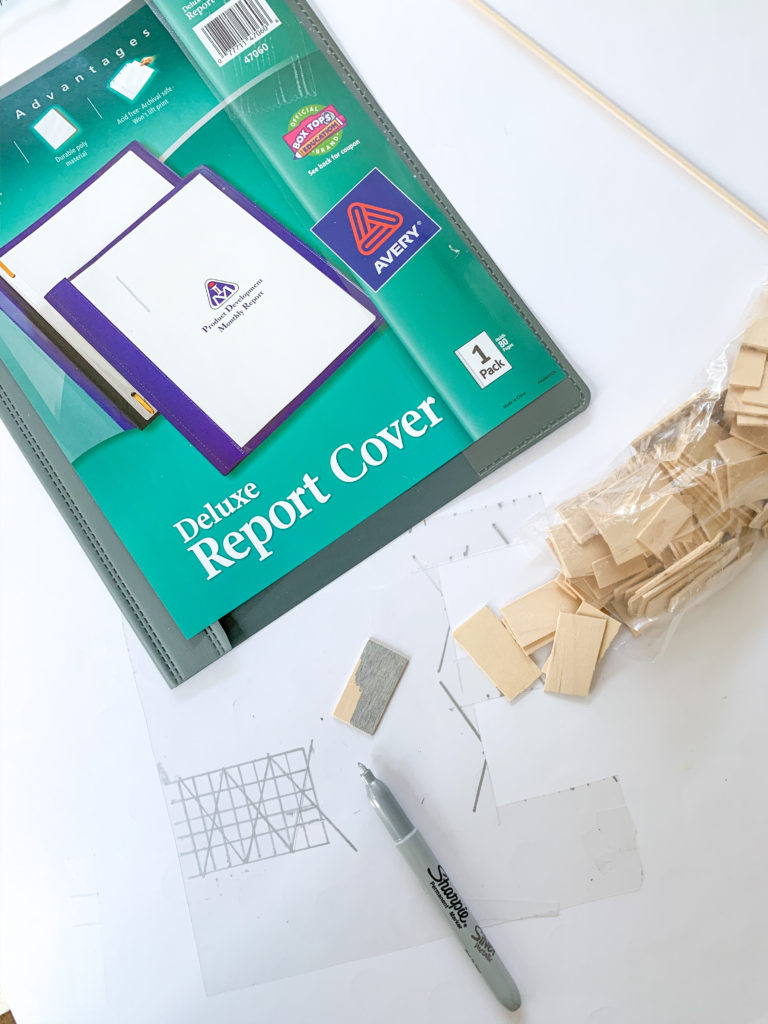
To make the hangar doors I took pieces of scrap craft wood (1 1/2″ x 3/4″) and colored it with a silver Sharpie. Next I took the clear plastic cover off a a school report cover and cut out a (1 1/2″ x 2″) rectangle. Using a ruler, I then made grid marks with the silver Sharpie. I framed it with a piece of bass wood (3/32 x 3/32) and glued everything together with a glue gun. Make 4 of these.
Glue the hangar doors with a little overlap on the corrugated plastic part and on the door.


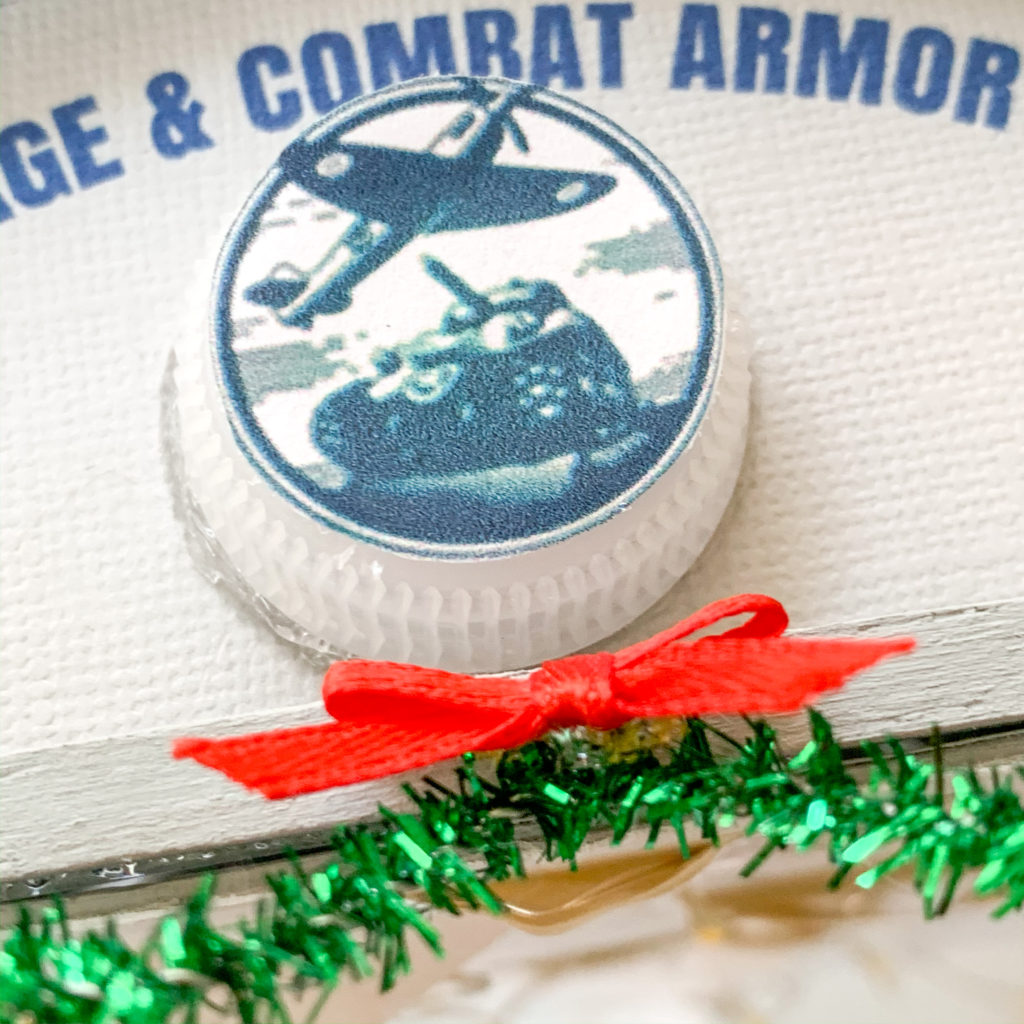
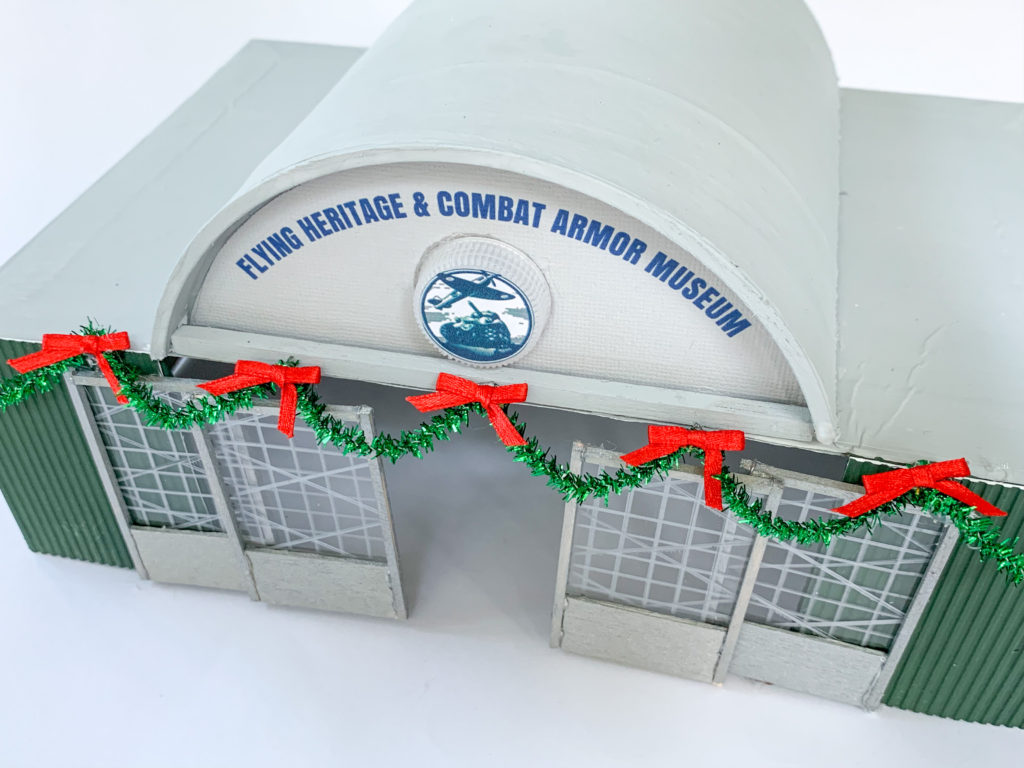
Using Microsoft word, I printed out the name of the museum onto a textured gray piece of scrapbook cardstock. (I tried to match the gray paint color on top of the building to the paper)
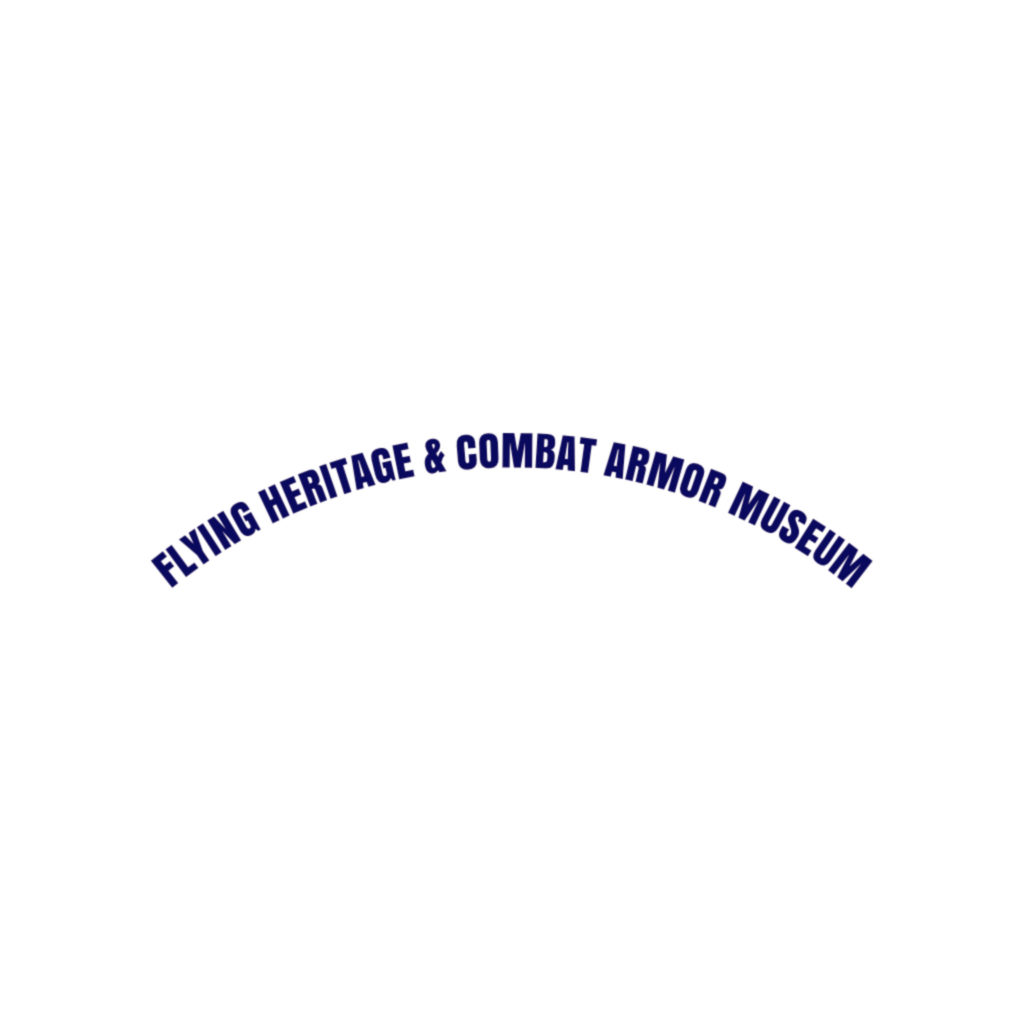
Then I cut the paper to fit the lid of the tube and glued it on the front of the building
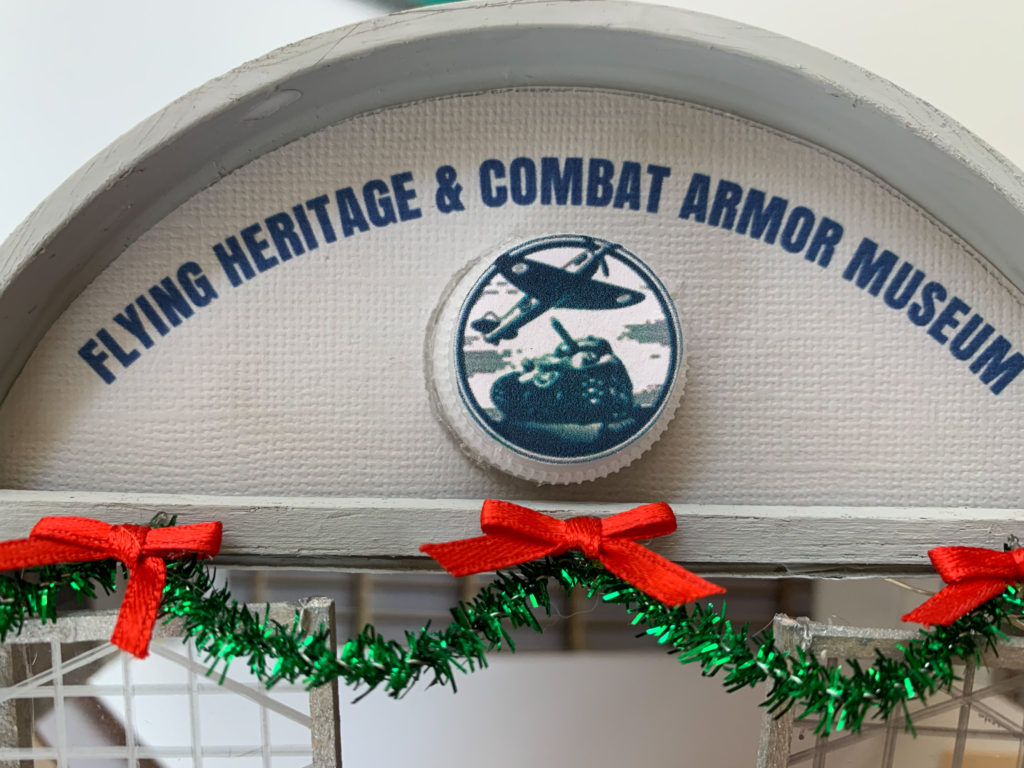
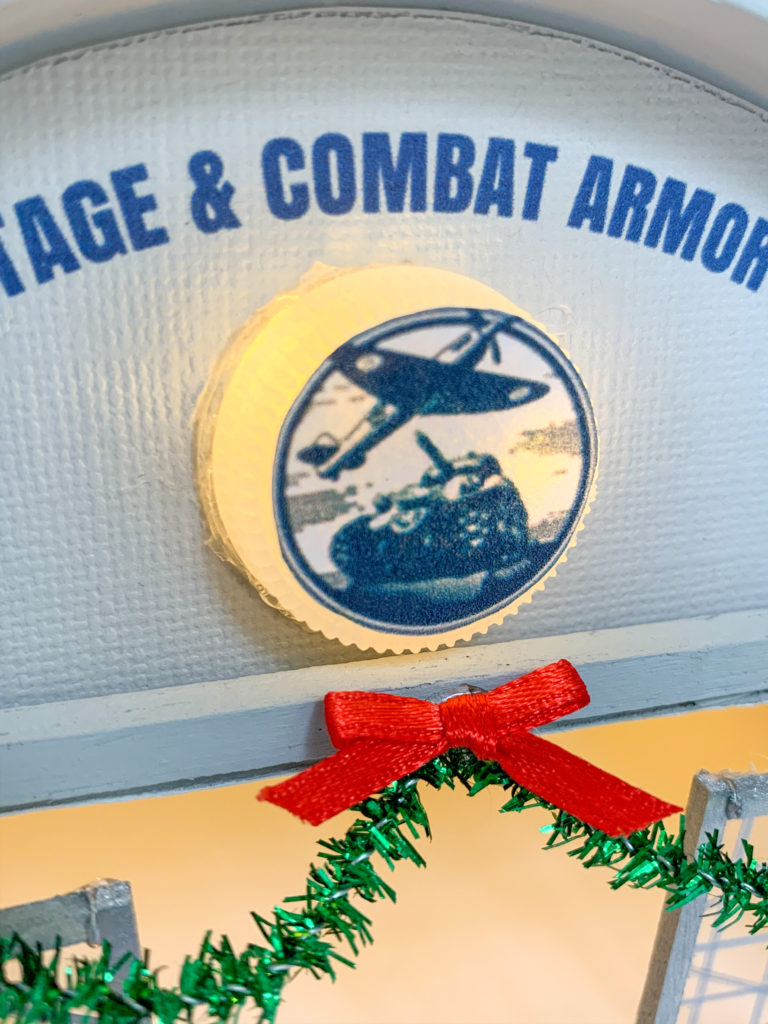
I printed out the FHCAM logo from the internet onto a regular piece of printer paper since I wanted it to be somewhat transparent so light could shine through.
I cut out the logo and pasted it onto a water bottle cap with a school glue stick.
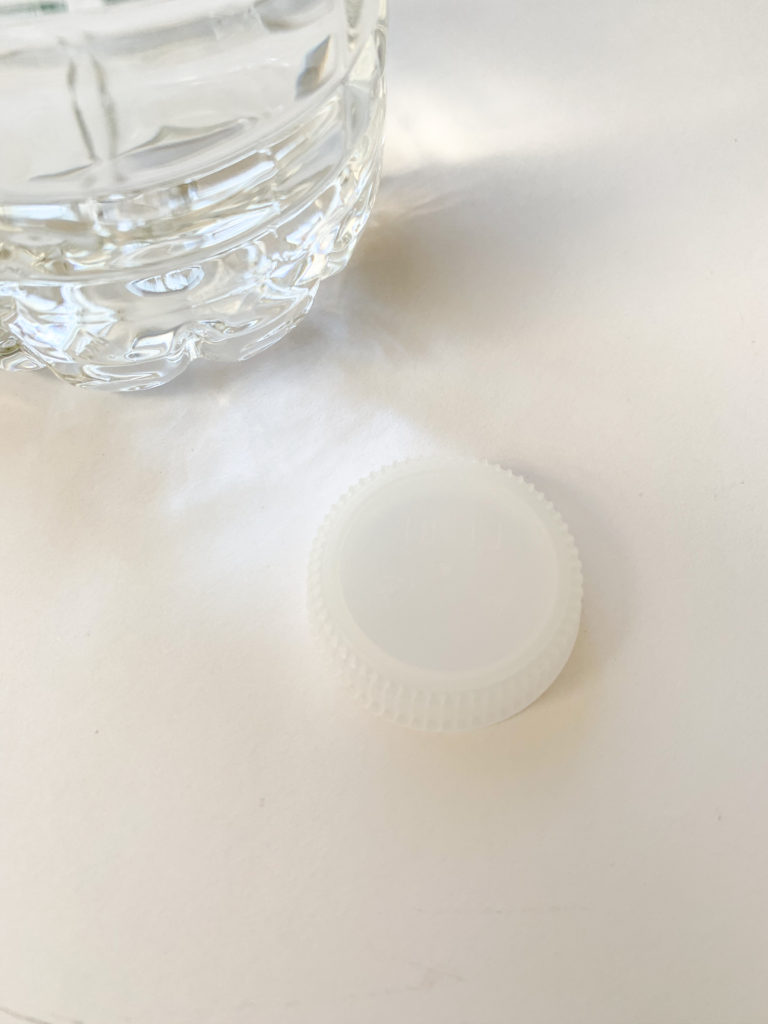
Using a glue gun, I attached the bottle cap to the front of the lid, just below the lettering.
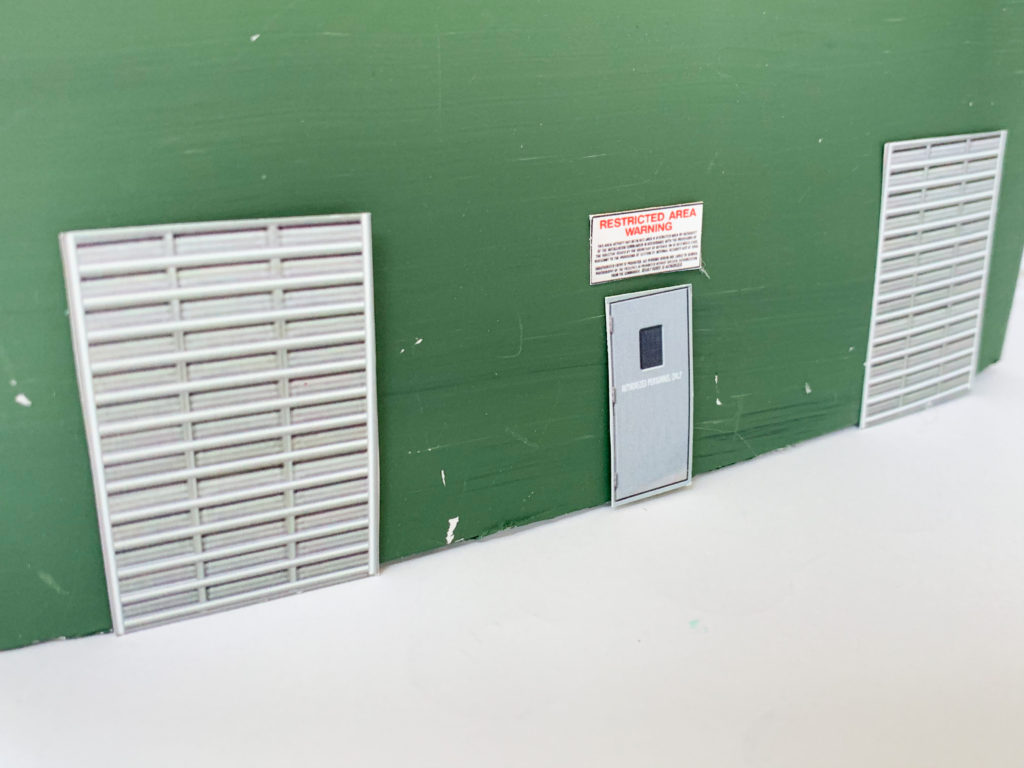
I had ordered this airplane hangar kit but it didn’t quite work for me. It was made of tagboard and I wanted something sturdier for my model so I used the doors for the outside of my model and for the interior. You can get the model here.
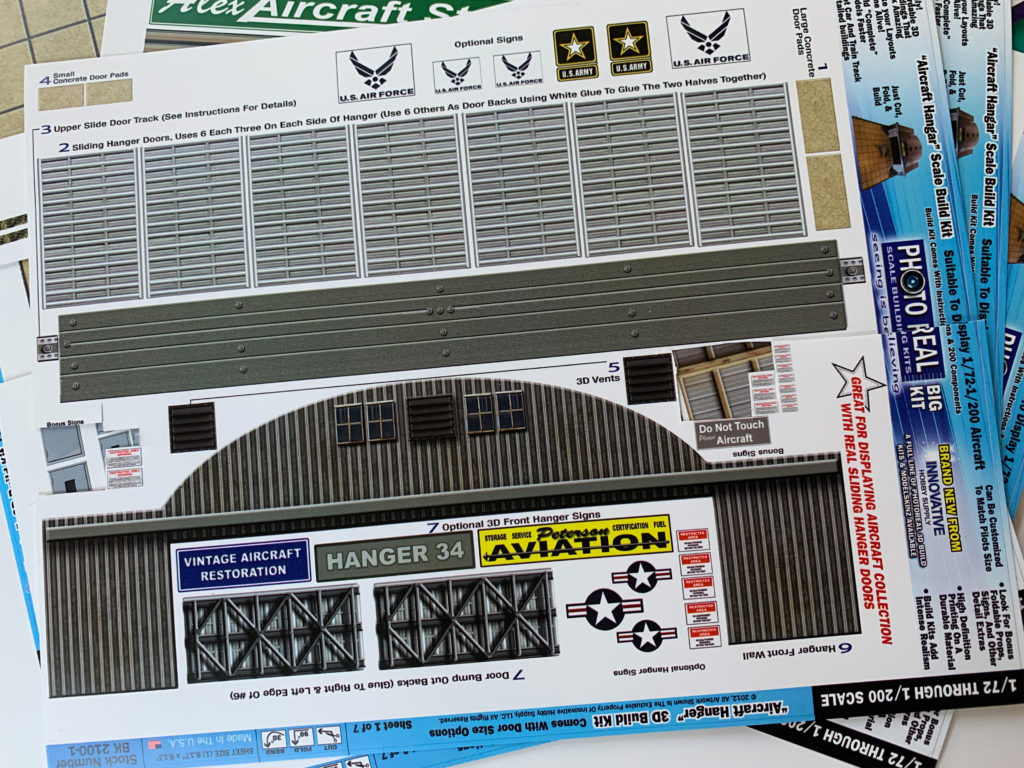
I painted the side of the building green and attached the kit doors and signs
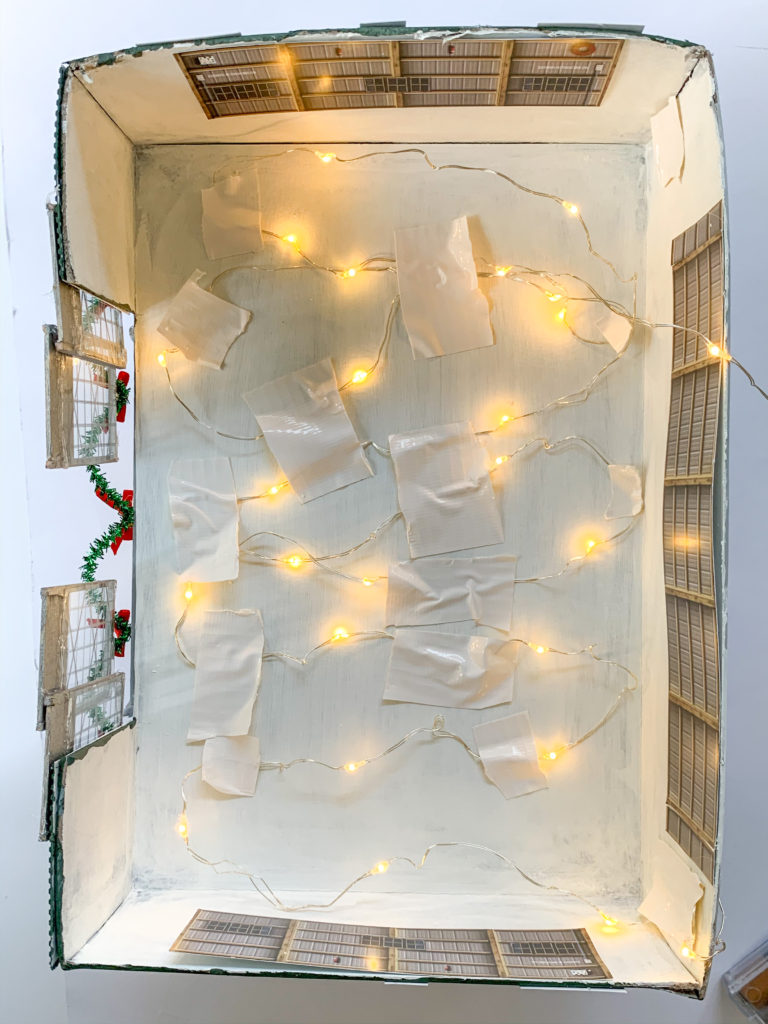
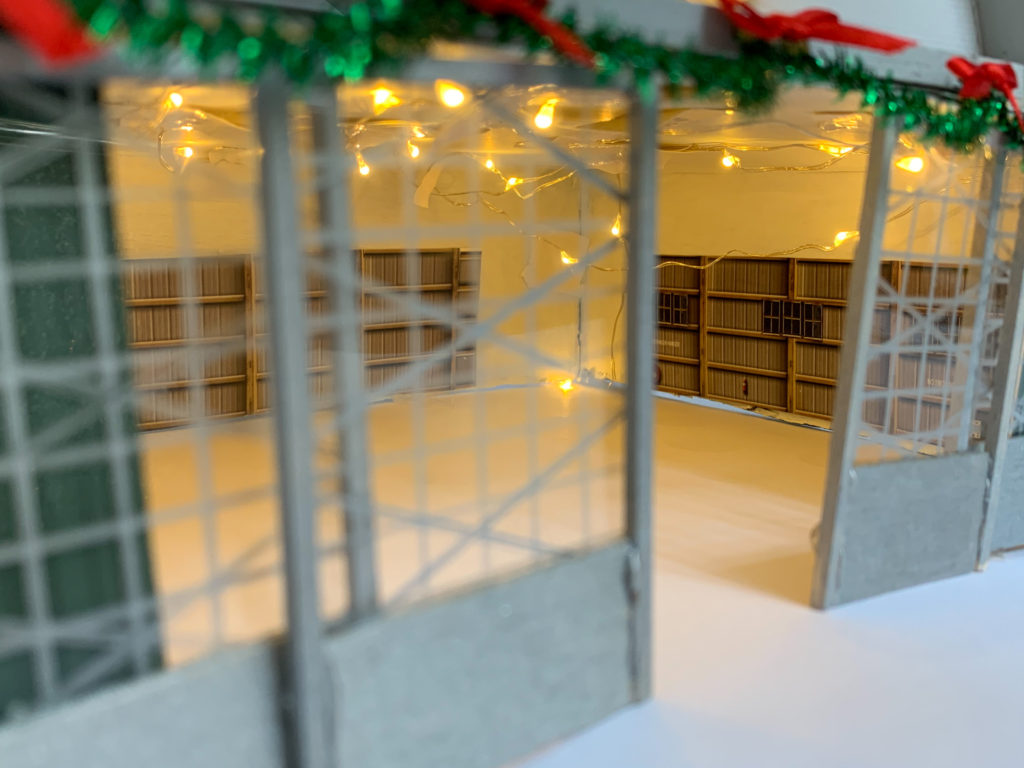
I used battery operated fairy light for the interior of the building, simply duct taping the lights to the ceiling in rows. I glued the interior of the model kit to the inside walls of the box.
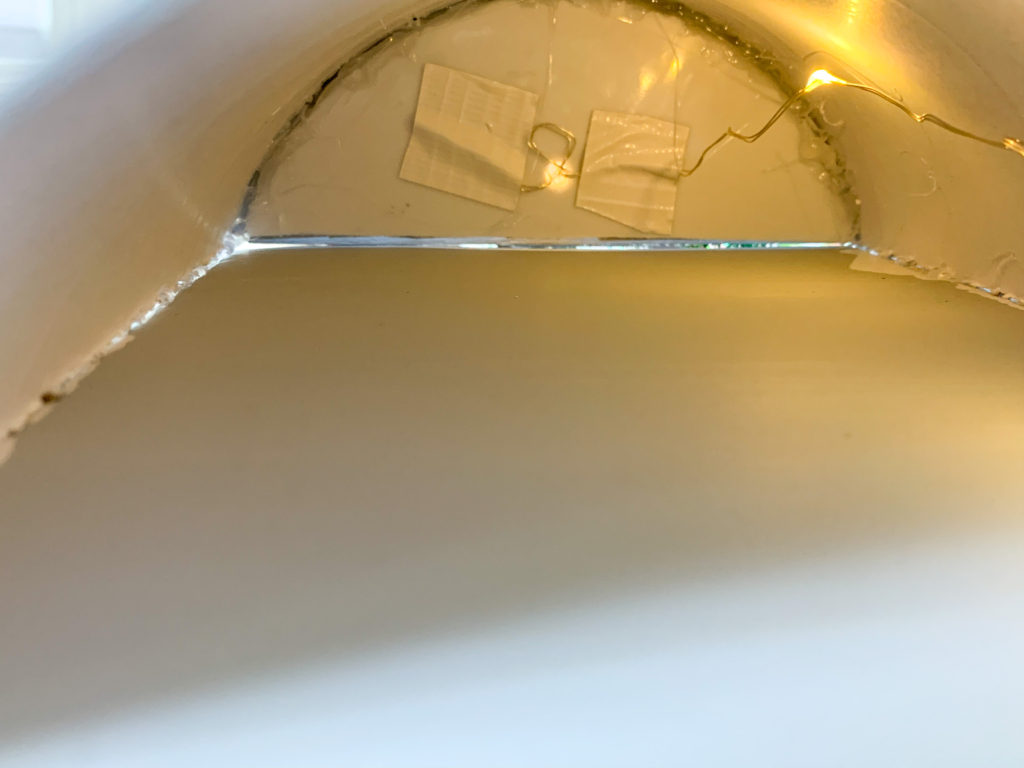
I ran the end of the lights into the back of the mailing tube and poked a small hole through the lid so the light would shine through the bottle cap.
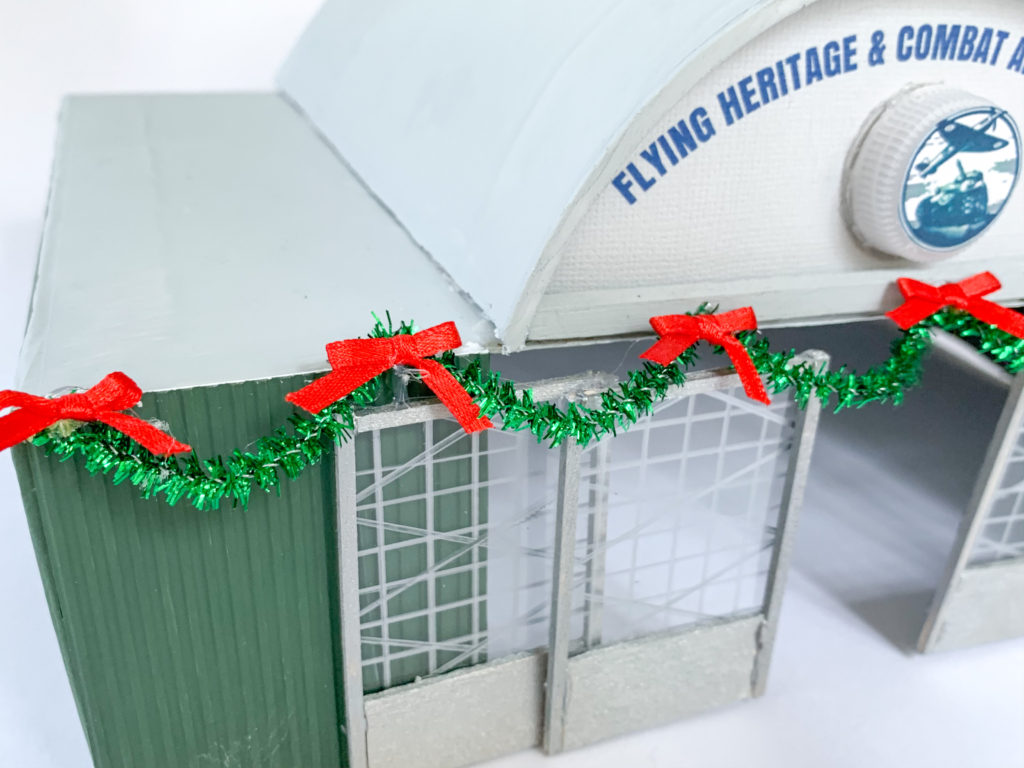
Using green tinsel pipe cleaner and red ribbon, I made Christmas garland for the front of the building and attached it with a glue gun.

The garland inspiration was from the Flying Heritage and Combat Armor Museum’s Tanksgiving event photo below:

This photo of Santa and his reindeer in a Sherman tank was from FHCAM’S Tanksgiving event
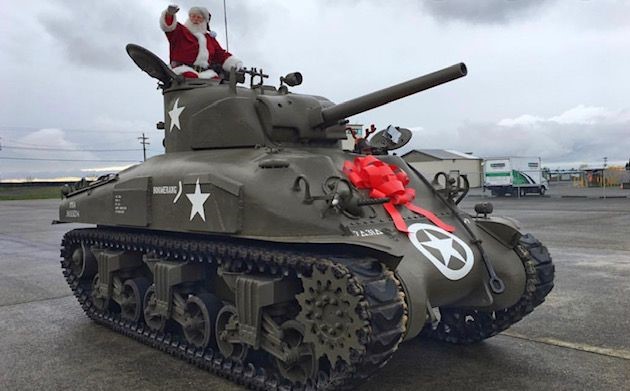
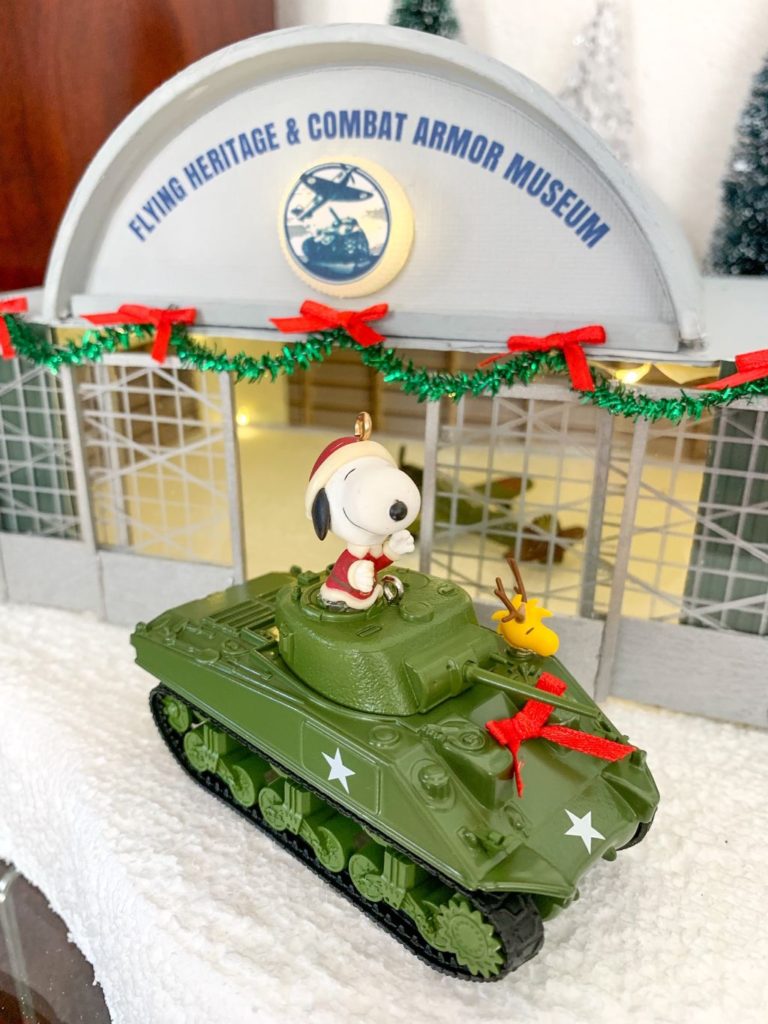
So I tried to replicate the above photo using Hallmark ornaments
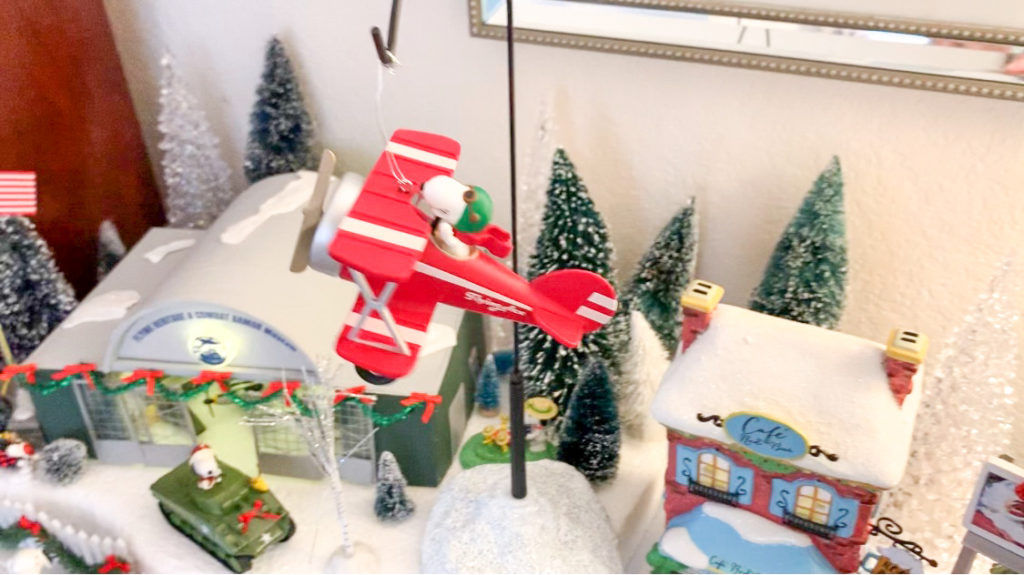
WATCH a video of my entire Snoopy Christmas Village here: