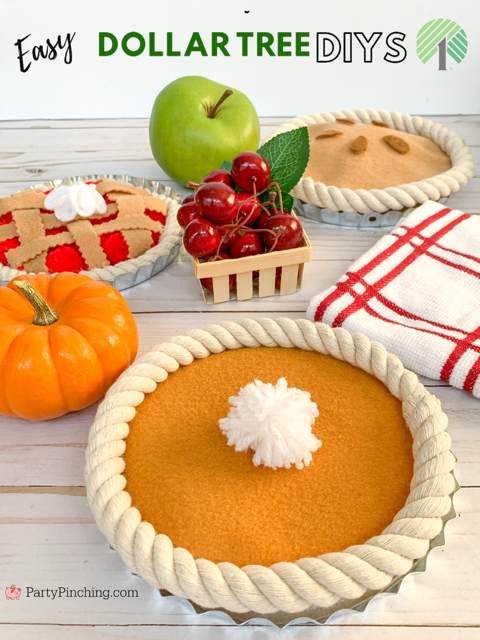
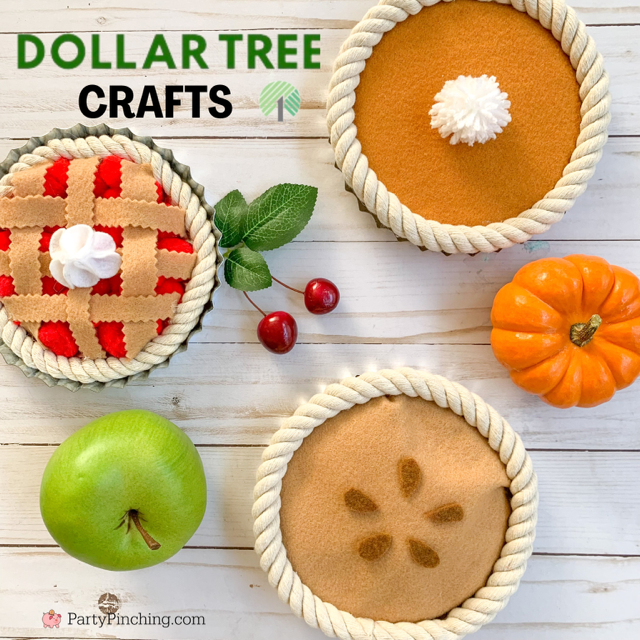
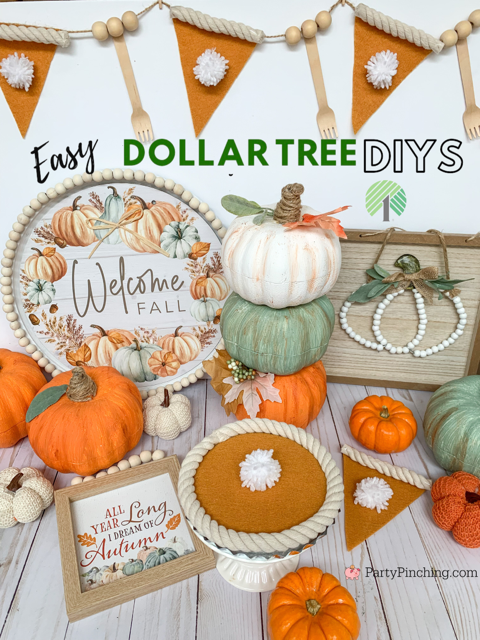
This Dollar Tree Pie Craft is so cute and super easy to make! Just a few inexpensive supplies found mostly at Dollar Tree, these are the cutest seasonal decor pieces for fall. Adorable for Thanksgiving decor and fun for kids to make too!
This post may contain affiliate links. Please read our disclosure policy. As an Amazon Associate, I earn from qualifying purchase
MY AMAZON PICKS (affiliate links):
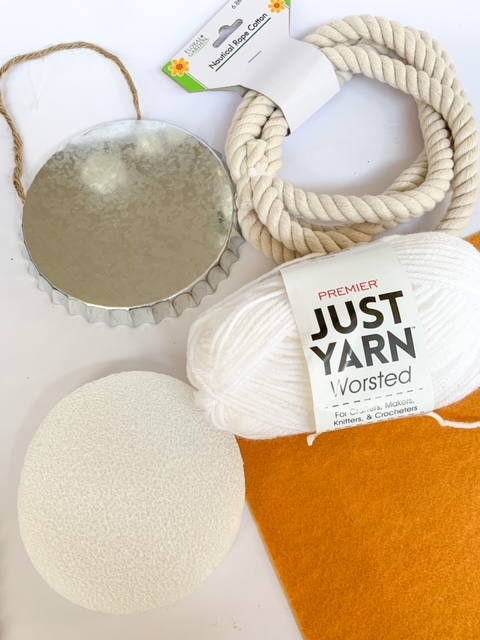
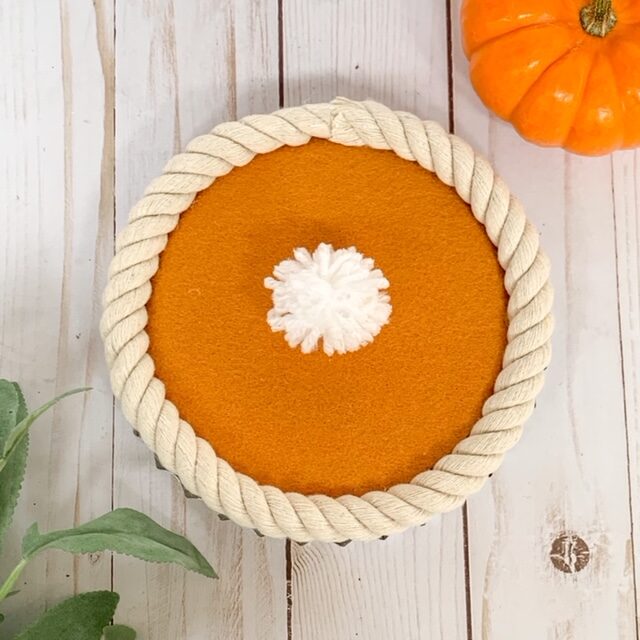
You will need for the pumpkin pie:
Dollar Tree metal bottle cap craft
5” Styrofoam round from Dollar Tree (these come 2 to a pack)
Glue Gun
White yarn from Dollar Tree
Dollar Tree nautical rope
Pumpkin colored felt (I found this at Michael’s)
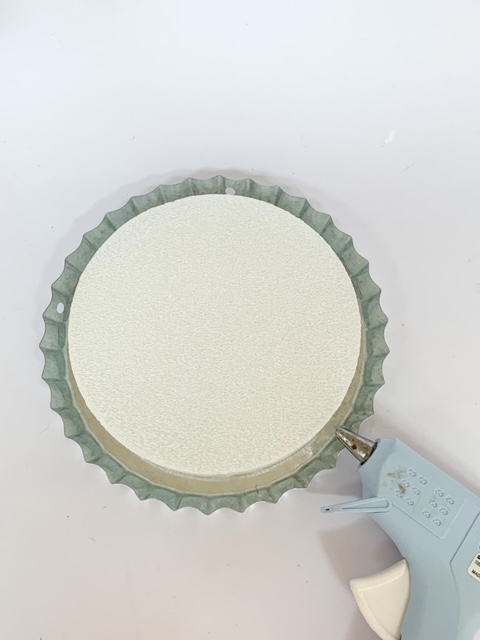
First turn the metal bottle cap craft upside down and attach the round foam inside using hot glue.
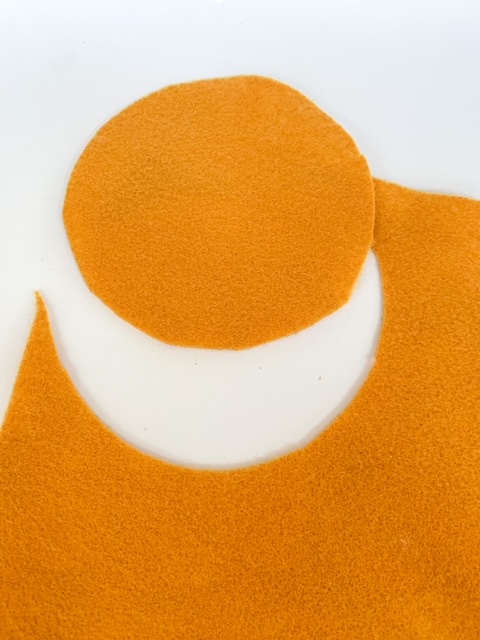
Next cut out a circle of the pumpkin colored felt to fit on top of the foam.
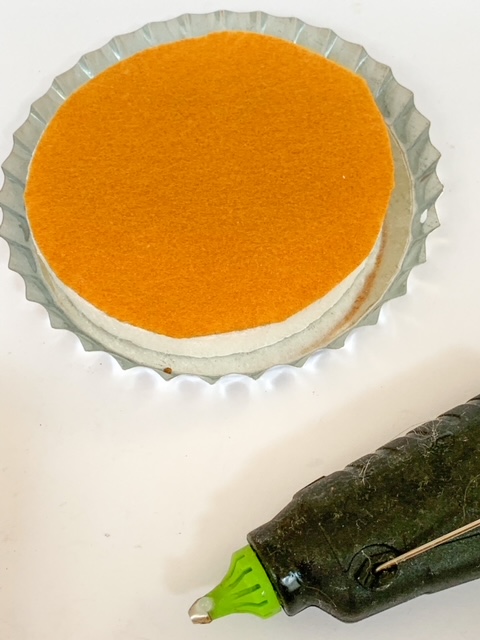
Now attach the felt to the top of the foam with hot glue.
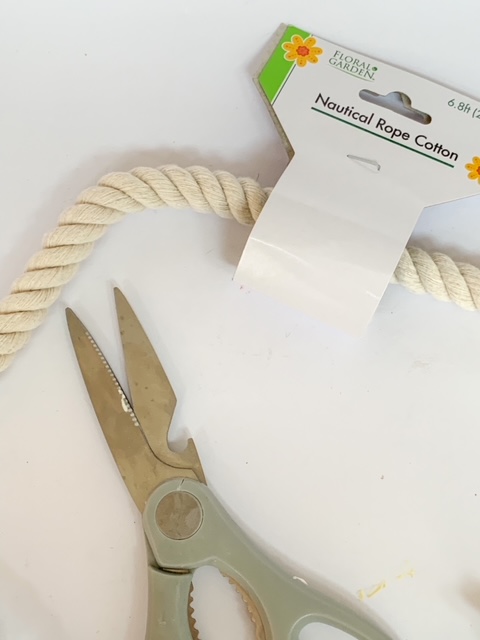
Then, cut the nautical rope to fit around the foam. (it’s a good idea to wrap a piece of clear tape around the rope and cut in between the tape so the rope edges don’t fray).
Now, glue the rope around the edge of the foam for the crust.
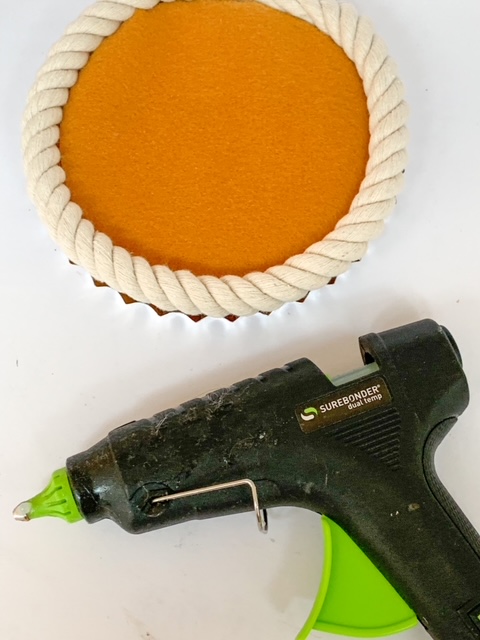
Next, wind the yarn around 2 fingers about 30 times.
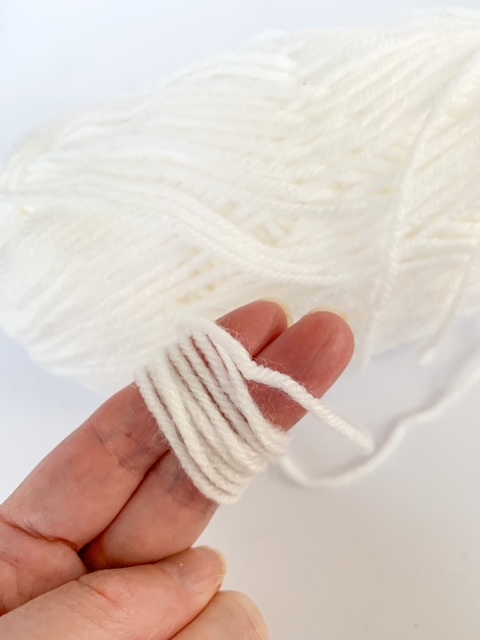
Then, tie a little bit of yarn in the middle of the looped yarn.
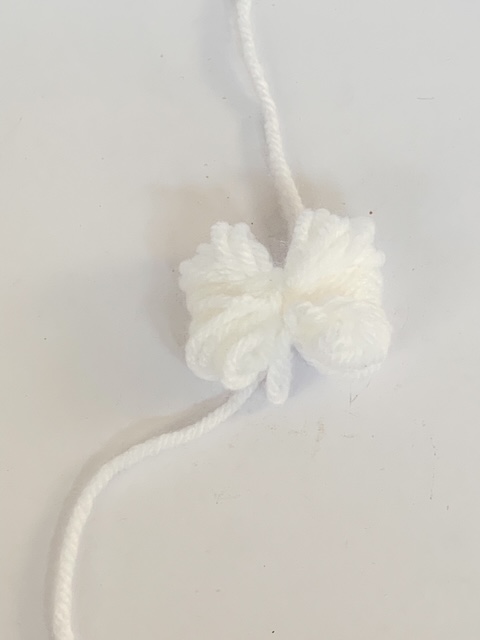
Cut the loops on the ends of the yarn and fluff into a pom pom.
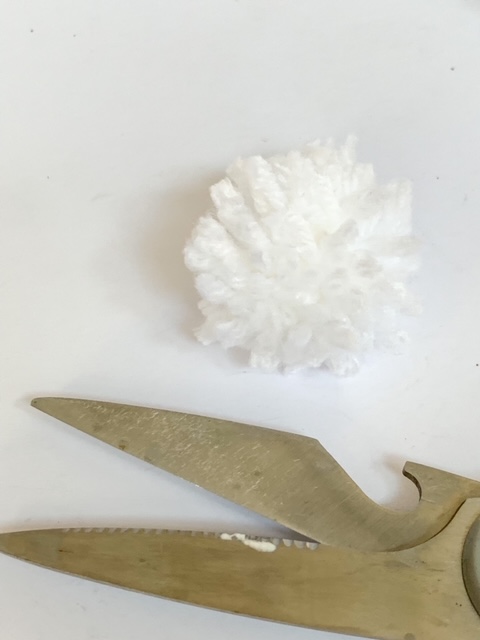
Finally glue the pom pom on top of the pie.
You will need for the cherry pie:
Dollar Tree metal bottle cap craft
Glue Gun
Pinking shears or scissors
Dollar Tree nautical rope
Red Dollar Tree pom poms
Tan colored felt (I found this at Michael’s)
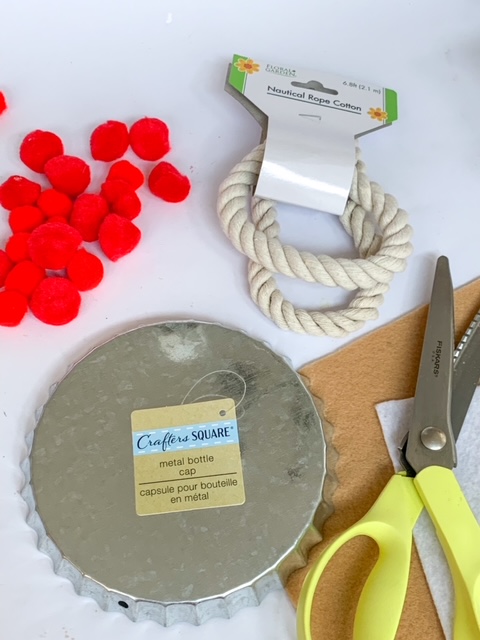
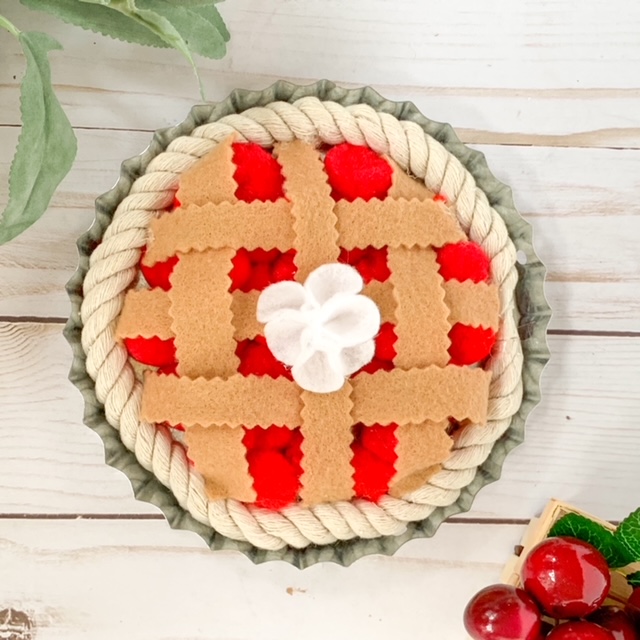
First turn the metal bottle cap craft upside down and glue the red pom poms to the bottom of the pan.
Then glue the nautical rope around the inside edge of the pan. (it’s a good idea to wrap a piece of clear tape around the rope and cut in between the tape so the edges of the rope don’t fray).
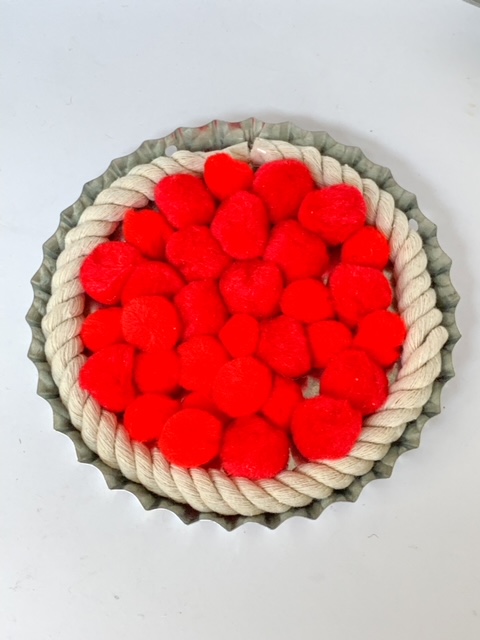
Now cut strips of tan felt using pinking shears or scissors
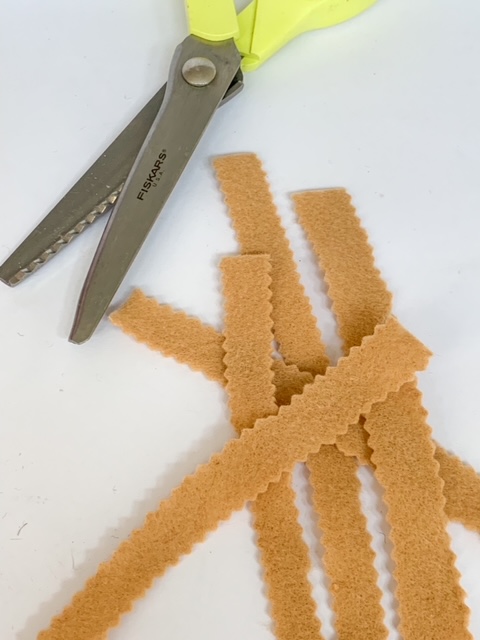
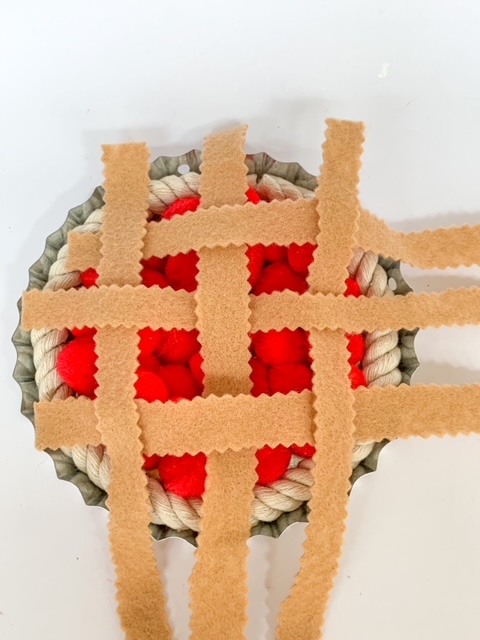
Weave the strips of felt on top of the cherry pie like you would a lattice pie crust.
Now trim and glue down the strips.
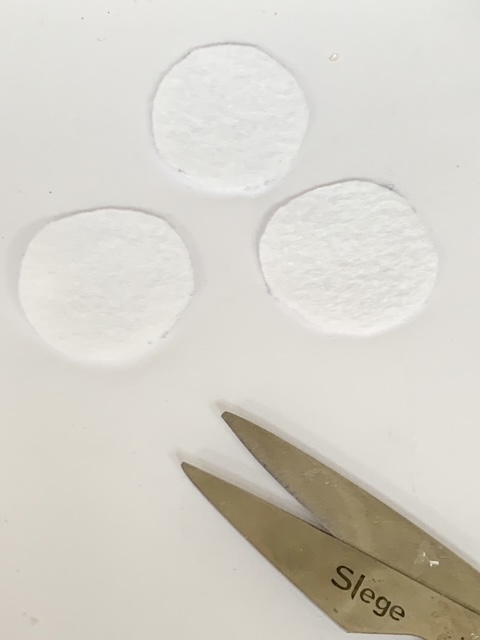
Cut 3 – 2 inch circles out of white felt.
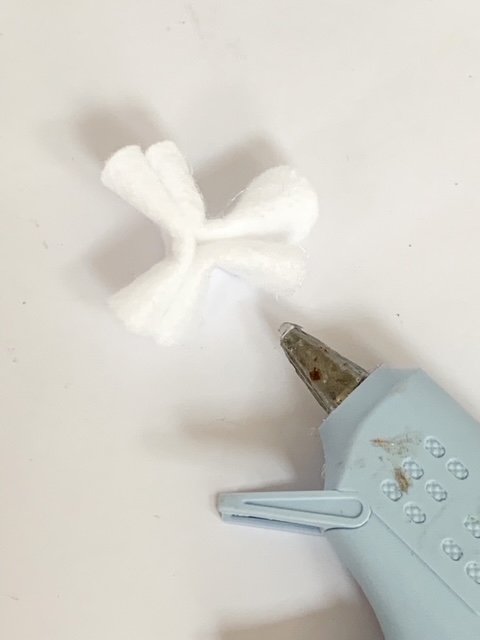
Fold in half like a taco and glue the middle shut.

Then, fold the halves in half and attach to each other like in the photo
Glue all the sides together and fluff.
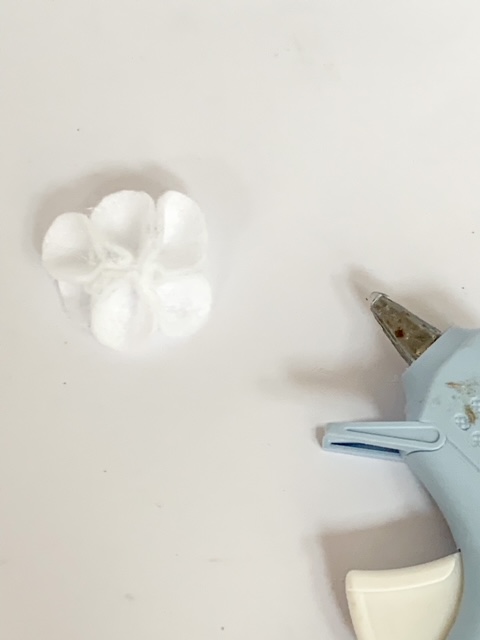
Finally glue on top of the pie.
You will need for the apple pie:
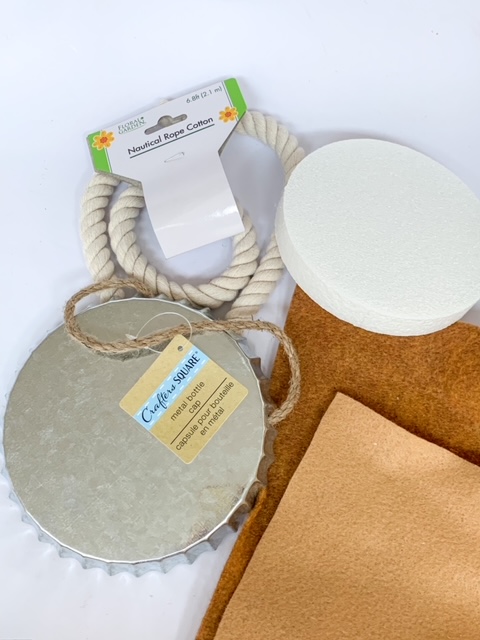
Dollar Tree metal bottle cap craft
5” Styrofoam round from Dollar Tree (these come 2 to a pack)
Glue Gun
Paper towel
Dollar Tree nautical rope
Tan and brown colored felt (I found this at Michael’s)
First turn the metal bottle cap craft upside down and glue the foam round inside.
Next place the crumpled paper towel on the top of the foam.
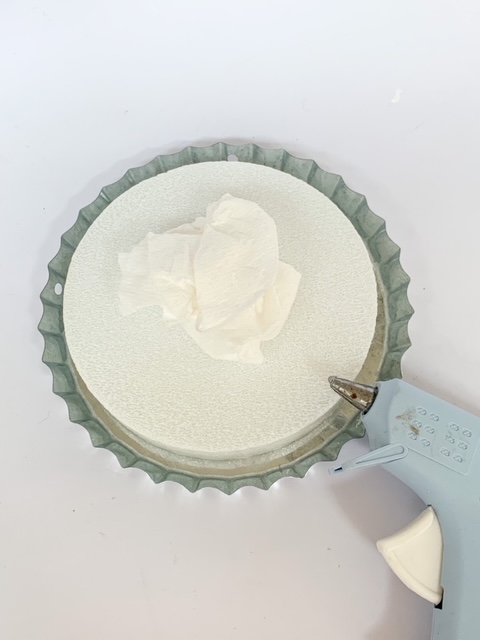
Cut a circle out of the tan felt a little larger than the foam and glue down the edges.
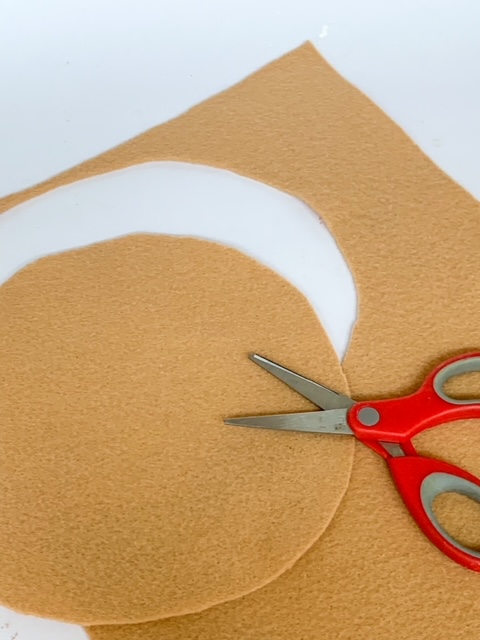
Now cut 5 small teardrop shapes out of the brown felt for the vent holes.
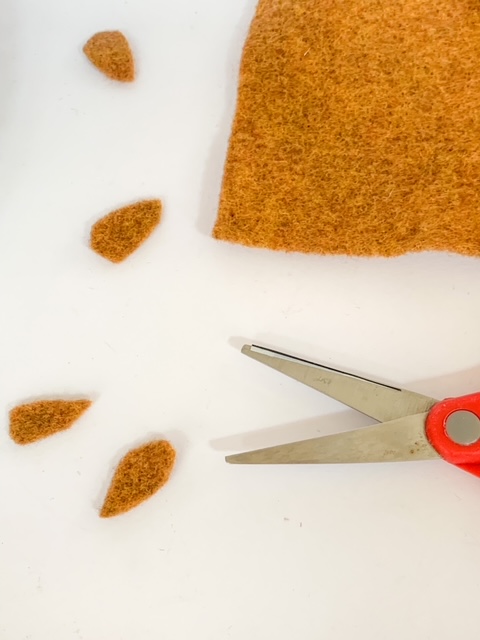
Glue the vent holes on top of the pie and the nautical rope around the pie. (it’s a good idea to wrap a piece of clear tape around the rope and cut in between the tape so the rope edges don’t fray).
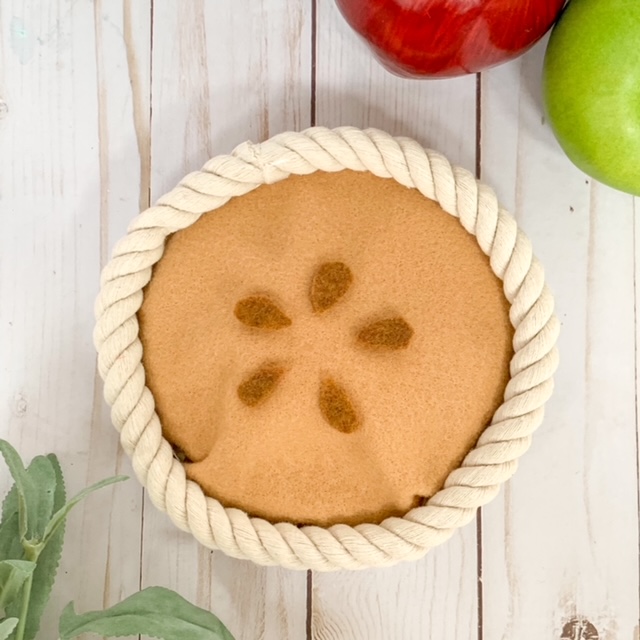
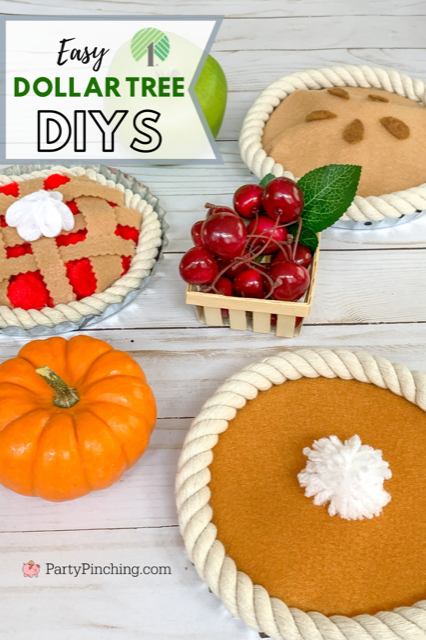
Now you have the CUTEST Dollar Tree Pie craft ever! These cute pies make adorable hostess gifts for Thanksgiving and pairs great with my matching banner that is super easy to make!
Get the step-by-step directions for my banner here.
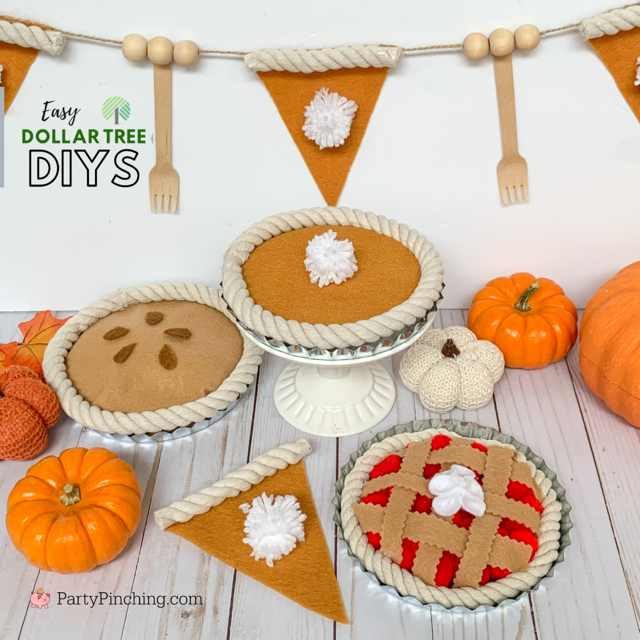
for more great Dollar Tree craft ideas, click here
Dollar Tree Pie Craft

Cute felt pie craft made from Dollar Tree products!
Materials
- FOR THE PUMPKIN PIE:
- Dollar Tree metal bottle cap craft
- 5” Styrofoam round from Dollar Tree (these come 2 to a pack)
- Glue Gun
- clear tape
- White yarn from Dollar Tree
- Dollar Tree nautical rope
- Pumpkin colored felt (I found this at Michael’s)
- FOR THE CHERRY PIE:
- Dollar Tree metal bottle cap craft
- Glue Gun
- Pinking shears or scissors
- clear tape
- Dollar Tree nautical rope
- Red Dollar Tree pom poms
- Tan colored felt (I found this at Michael’s)
- FOR THE APPLE PIE:
- Dollar Tree metal bottle cap craft
- 5” Styrofoam round from Dollar Tree (these come 2 to a pack)
- Glue Gun
- clear tape
- Paper towel
- Dollar Tree nautical rope
- Tan and brown colored felt (I found this at Michael’s)
Tools
- Glue gun
Instructions
FOR THE PUMPKIN PIE:
- First turn the metal bottle cap craft upside down and attach the round foam inside using hot glue.
- Next cut out a circle of the pumpkin colored felt to fit on top of the foam.
- Now attach the felt to the top of the foam with hot glue.
- Then, cut the nautical rope to fit around the foam. (it’s a good idea to wrap a piece of clear tape around the rope and cut in between the tape so the edges of the rope don’t fray).
- Now, glue the rope around the edge of the foam for the crust.
- Next, wind the yarn around 2 fingers about 30 times.
- Then, tie a little bit of yarn in the middle of the looped yarn.
- Cut the loops on the ends of the yarn and fluff into a pom pom.
- Finally glue the pom pom on top of the pie.
FOR THE CHERRY PIE:
- First turn the metal bottle cap craft upside down and glue the red pom poms to the bottom of the pan.
- Then glue the nautical rope around the inside edge of the pan.
- Now cut strips of tan felt using pinking shears or scissors
- Weave the strips of felt on top of the cherry pie like you would a lattice pie crust.
- Now trim and glue down the strips.
- Cut 3 - 2 inch circles out of white felt.
- Fold in half like a taco and glue the middle shut.
- Then, fold the halves in half and attach to each other like in the photo
- Glue all the sides together and fluff.
- Finally glue on top of the pie.
FOR THE APPLE PIE:
- First turn the metal bottle cap craft upside down and glue the foam round inside.
- Next place the crumpled paper towel on the top of the foam.
- Cut a circle out of the tan felt a little larger than the foam and glue down the edges.
- Now cut 5 small teardrop shapes out of the brown felt for the vent holes.
- Glue the vent holes on top of the pie and the nautical rope around the pie.
